


Halloween potlucks often mean needing a dish that travels well and feeds a group.
These recipes focus on easy options that do not require special equipment or hard to find items.
You will find both sweet and savory ideas that work for different types of gatherings.
Many can be made ahead so you are not rushed on the day.
They use common ingredients and straightforward steps.
Helpful Tips Before You Start
These pointers will help your dish travel well and suit a mixed crowd.
Choose Make-Ahead Recipes
Pick items that can be fully prepared the day before. This keeps the morning of the event free for last-minute touches.
Pack for Safe Travel
Use sturdy containers with tight lids. Avoid delicate toppings until you arrive at the gathering.
Include a Simple Ingredient List
Write down the main components on a small card. Guests with allergies or restrictions will appreciate the quick reference.
Add One Festive Detail
Use orange food coloring, black olives, or themed picks to give the dish a Halloween look. Keep the change minimal so it still tastes familiar.
Mummy-Wrapped Sausage Sliders with Spicy Ketchup
These sausage sliders get a playful Halloween twist by wrapping the meat in thin strips of dough before baking. They travel well to potlucks and give guests a warm, savory bite with a little heat from the ketchup on the side. The flaky dough contrasts nicely with the juicy sausage inside.
The spicy ketchup adds a simple kick that pairs with the rich meat without overpowering it. Serve them warm so the dough stays crisp.


Equipment
- Skillet
- Baking sheet
- Mixing bowl
Ingredients
- 8 small sausages
- 1 package (8 oz) refrigerated crescent roll dough
- 8 slider buns
- 1/2 cup ketchup
- 2 tablespoons hot sauce
Instructions
- Preheat the oven to 375°F and line a baking sheet with parchment paper.
- Cook the sausages in a skillet over medium heat until browned on all sides and cooked through. Set them aside to cool slightly.
- Unroll the crescent dough on a lightly floured surface and cut it into thin strips about 1/4 inch wide.
- Wrap the dough strips around each sausage, leaving small gaps to create a mummy-bandage effect. Place the wrapped sausages on the prepared baking sheet.
- Bake for 12 to 15 minutes until the dough is golden brown.
- While the sausages bake, stir the ketchup and hot sauce together in a small bowl until smooth.
- Place each baked mummy sausage into a slider bun and serve with the spicy ketchup for dipping or spreading.
Notes
Cuisine: American
Equipment: Skillet, Baking sheet, Mixing bowl
Pumpkin Sage Risotto Stuffed Peppers
These stuffed peppers combine creamy risotto with pumpkin and fresh sage for a dish that feels right at home on a fall potluck table. The orange peppers add a seasonal touch while the filling stays hearty enough to satisfy guests looking for something more than snacks. It travels well and holds up during transport or a short reheat.
The result is a savory mix of earthy pumpkin and aromatic sage inside tender pepper shells. The risotto stays creamy without becoming heavy, and the peppers soften just enough to cut easily with a fork.


Equipment
- Large skillet
- Saucepan
- Baking dish
Ingredients
- 4 medium orange bell peppers
- 1 cup arborio rice
- 1 1/2 cups pumpkin puree
- 4 cups vegetable broth
- 1 onion, finely chopped
- 3 garlic cloves, minced
- 1/4 cup fresh sage leaves, chopped
- 1/2 cup grated Parmesan cheese
- 2 tablespoons olive oil
- Salt and black pepper to taste
Instructions
- Preheat the oven to 375°F. Cut the tops off the bell peppers and remove the seeds and membranes. Place the peppers cut-side up in a baking dish.
- Warm the vegetable broth in a saucepan over low heat and keep it nearby.
- Heat the olive oil in a large skillet over medium heat. Add the onion and cook until softened, about 4 minutes. Stir in the garlic and cook for 1 minute more.
- Add the arborio rice to the skillet and stir for 2 minutes until the grains look lightly toasted. Ladle in 1 cup of warm broth and stir until mostly absorbed. Continue adding broth 1/2 cup at a time, stirring often, until the rice is tender and creamy, about 18 minutes total.
- Stir the pumpkin puree, chopped sage, and half the Parmesan into the risotto. Season with salt and black pepper. Remove from heat.
- Spoon the risotto evenly into the prepared peppers. Sprinkle the remaining Parmesan over the tops. Bake for 20 minutes until the peppers are tender and the tops are lightly browned.
Notes
Cuisine: Italian
Equipment: Large skillet, Saucepan, Baking dish
Spiderweb Black Bean and Corn Dip with Tortilla Chips
This black bean and corn dip brings a fun Halloween touch to any potluck with its spiderweb design on top. It travels well and holds up at room temperature, making it easy to set out at gatherings. The dip has a zesty, savory flavor with fresh lime and cumin, plus a mix of creamy beans and crisp corn that pairs nicely with crunchy tortilla chips.


Equipment
- Mixing bowl
- Serving dish
- Spoon
Ingredients
- 1 can (15 oz) black beans, drained and rinsed
- 1 cup corn kernels
- 1/2 cup diced red onion
- 1/2 cup diced red bell pepper
- 1/4 cup chopped fresh cilantro
- Juice of 1 lime
- 1 teaspoon ground cumin
- 1/2 teaspoon salt
- 1/4 teaspoon black pepper
- 1/2 cup sour cream
- Tortilla chips, for serving
Instructions
- In a mixing bowl, combine the black beans, corn, red onion, red bell pepper, cilantro, lime juice, cumin, salt, and black pepper. Stir until everything is evenly mixed.
- Spread the bean and corn mixture into a shallow serving dish and smooth the top with the back of a spoon.
- Place the sour cream in a small zip-top bag and snip off one corner to create a piping tip. Pipe the sour cream in a spiral pattern over the dip.
- Use a toothpick or knife to drag lines from the center outward, forming a spiderweb design.
- Serve the dip with tortilla chips on the side.
Notes
Cuisine: Mexican
Equipment: Mixing bowl, Serving dish, Spoon
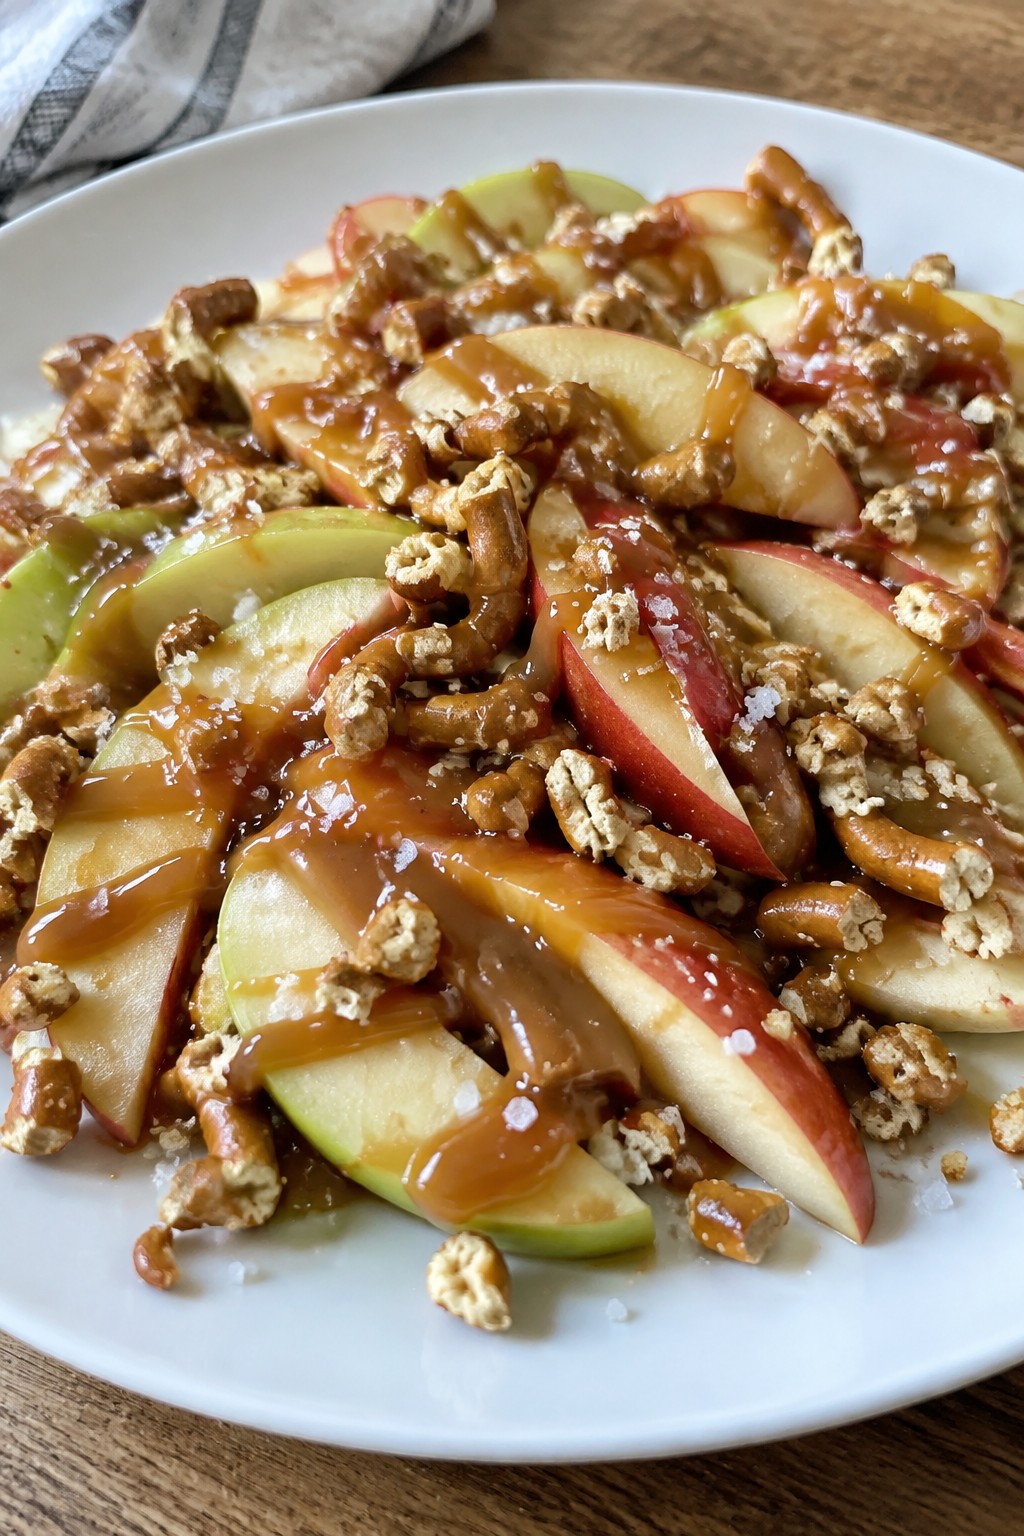
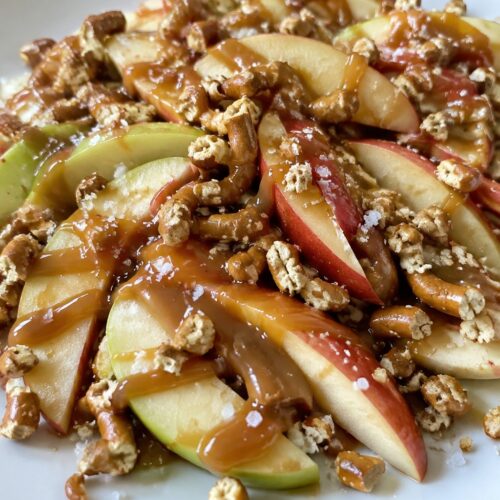
Caramel Apple Nachos with Pretzel Crunch
This recipe turns fresh apple slices into a no-bake treat that travels well to potlucks. The combination of crisp fruit, warm caramel, and salty pretzel pieces gives a nice balance of sweet and salty in every bite.
It works especially well for fall gatherings because it comes together quickly and needs no oven space at the host’s house.
Equipment
- Knife
- Serving platter
Ingredients
- 4 large apples, cored and sliced
- 1/2 cup caramel sauce
- 1 1/2 cups pretzels, crushed
- 1/4 teaspoon sea salt
Instructions
- Arrange the apple slices in a single layer on a large serving platter.
- Warm the caramel sauce slightly if it is too thick to drizzle, then pour it evenly over the apple slices.
- Sprinkle the crushed pretzels across the top so they stick to the caramel.
- Finish with a light dusting of sea salt to bring out the flavors.
Notes
Cuisine: American
Equipment: Knife, Serving platter
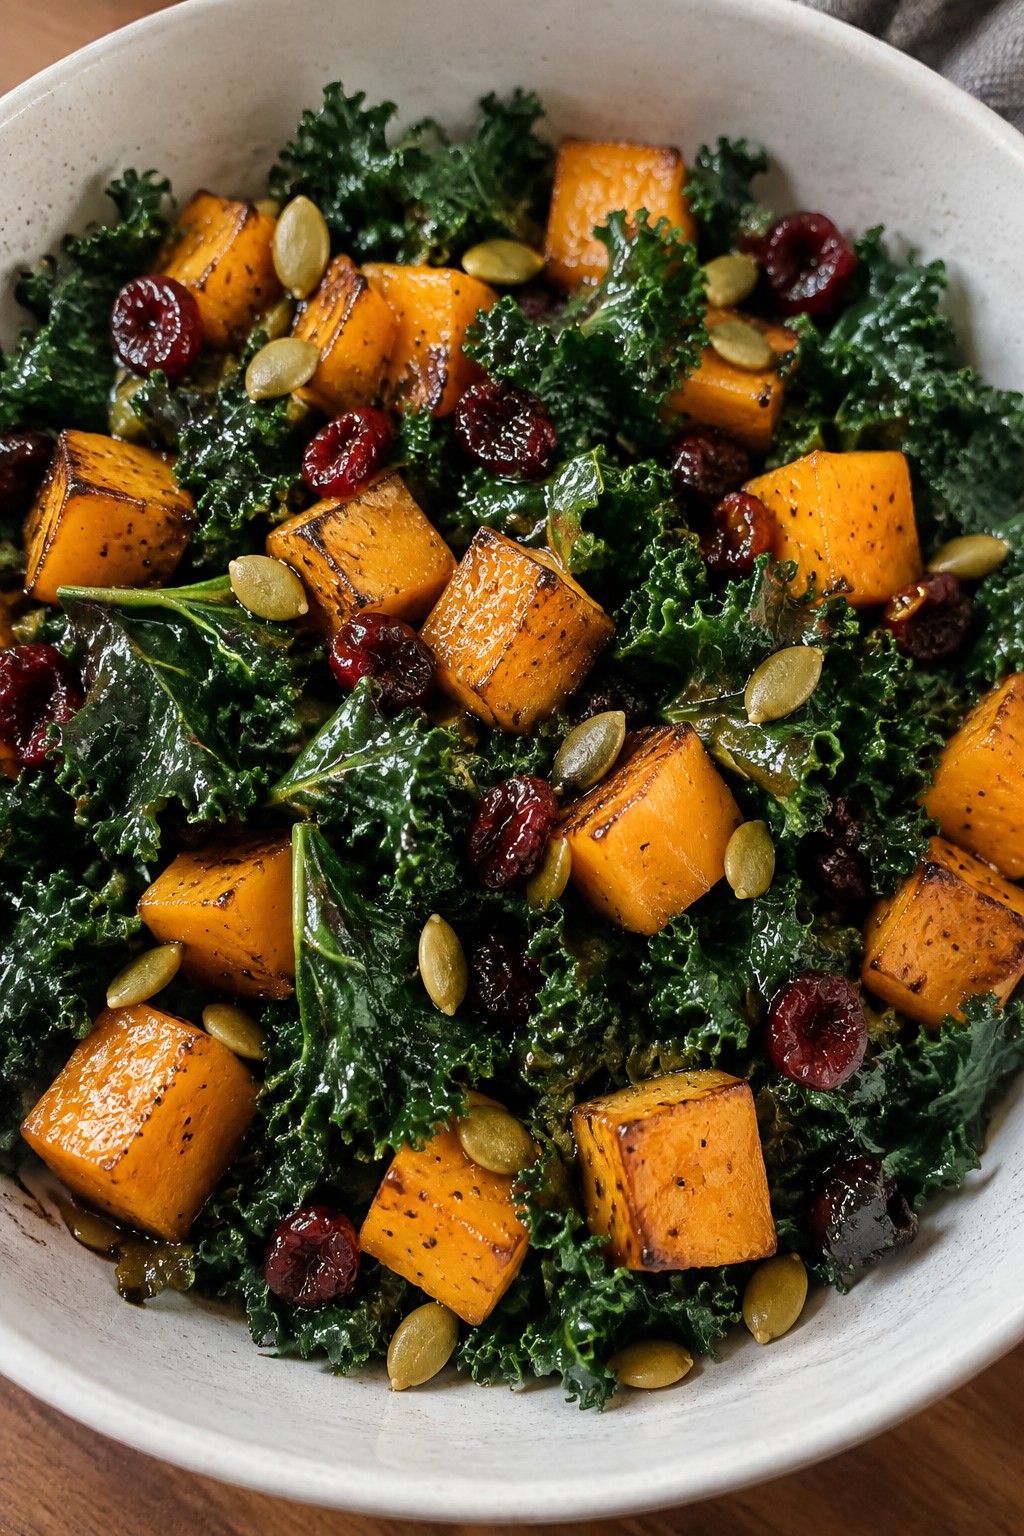
Roasted Butternut Squash and Kale Halloween Salad
This salad combines sweet roasted butternut squash with sturdy kale for a colorful dish that travels well to potlucks. The orange cubes stand out against the deep green leaves, giving it a festive look that fits right in with other Halloween spreads.
It works as a side that can sit at room temperature without losing quality. The roasted squash turns soft while the kale stays slightly crisp, and a simple dressing ties the flavors together.

Equipment
- Baking Sheet
- Large Bowl
- Whisk
Ingredients
- 1 medium butternut squash, peeled, seeded, and cut into 1-inch cubes
- 8 cups kale, stems removed and leaves torn into bite-sized pieces
- 3 tablespoons olive oil, divided
- 1/2 teaspoon salt
- 1/4 teaspoon black pepper
- 2 tablespoons balsamic vinegar
- 1 tablespoon honey
- 1/4 cup pumpkin seeds
- 1/3 cup dried cranberries
Instructions
- Preheat the oven to 400 degrees F. Spread the butternut squash cubes on a baking sheet, drizzle with 2 tablespoons olive oil, and sprinkle with salt and pepper. Toss to coat evenly.
- Roast the squash for 25 to 30 minutes, stirring once halfway through, until the edges turn golden and the pieces soften.
- While the squash roasts, place the kale in a large bowl. Add the remaining 1 tablespoon olive oil and massage the leaves for 2 minutes until they darken and soften slightly.
- In a small bowl, whisk together the balsamic vinegar and honey until smooth.
- Add the warm roasted squash to the kale. Drizzle the dressing over the top and toss gently to combine.
- Sprinkle the pumpkin seeds and dried cranberries over the salad just before serving.
Notes
Cuisine: American
Equipment: Baking Sheet, Large Bowl, Whisk
Ghostly White Chocolate Covered Pretzel Rods
These white chocolate covered pretzel rods add a playful touch to a Halloween potluck spread. They combine a salty crunch with sweet coating and stand out on the table without much effort.
The ghostly faces come from simple chocolate details that make them feel festive. They hold up well for transport and give guests an easy handheld treat.


Equipment
- Microwave-safe bowl
- Baking sheet
- Parchment paper
- Zip-top bag
Ingredients
- 8 pretzel rods
- 8 ounces white chocolate chips
- 1/4 cup semisweet chocolate chips
- 16 candy eyes
Instructions
- Line a baking sheet with parchment paper and set it aside.
- Place the white chocolate chips in a microwave-safe bowl. Heat in 30-second intervals, stirring after each, until fully melted and smooth.
- Dip each pretzel rod into the melted white chocolate, leaving about two inches uncovered at one end. Let excess chocolate drip off, then place the rod on the prepared baking sheet.
- Melt the semisweet chocolate chips in a separate bowl using the same microwave method. Spoon the melted chocolate into a small zip-top bag and snip a tiny corner to create a piping tip.
- Pipe simple ghost faces onto the white chocolate coating using the semisweet chocolate. Press two candy eyes onto each face while the chocolate is still soft. Let the rods set at room temperature until firm.
Notes
Cuisine: American
Equipment: Microwave-safe bowl, Baking sheet, Parchment paper, Zip-top bag
Slow-Cooker Smoky Vampire Garlic Meatballs
These meatballs bring a bold garlic punch balanced by smoky spices, making them a reliable choice for Halloween potlucks. The slow cooker keeps them tender while the sauce thickens around them, so you can set it and focus on other dishes.
They work well as a shared appetizer or side at gatherings because they hold up in a warm slow cooker without drying out. The flavor leans savory with a steady garlic note and a touch of smokiness from paprika and barbecue sauce.


Equipment
- Slow Cooker
- Mixing Bowl
Ingredients
- 1 pound ground beef
- 1/2 cup breadcrumbs
- 1 large egg
- 8 cloves garlic, minced
- 2 teaspoons smoked paprika
- 1 teaspoon salt
- 1/2 teaspoon black pepper
- 1 cup barbecue sauce
- 1/2 cup beef broth
- 2 tablespoons chopped parsley
Instructions
- Mix the ground beef, breadcrumbs, egg, 4 cloves of minced garlic, 1 teaspoon smoked paprika, salt, and black pepper in a bowl until evenly combined. Shape the mixture into 16 small meatballs.
- Place the meatballs in the slow cooker. In a separate bowl, stir together the barbecue sauce, beef broth, remaining 4 cloves of minced garlic, and remaining 1 teaspoon smoked paprika. Pour the sauce over the meatballs.
- Cover and cook on low for 6 hours or on high for 3 hours, until the meatballs reach an internal temperature of 160 degrees. Stir gently once or twice during cooking to coat them evenly.
- Sprinkle with chopped parsley before serving.
Notes
Cuisine: American
Equipment: Slow Cooker, Mixing Bowl
Jack-O’-Lantern Beef and Rice Stuffed Peppers
These stuffed peppers bring a fun Halloween element to any potluck spread. Carving simple faces into the peppers turns them into jack-o’-lanterns that guests notice right away. The dish travels well and holds up during a gathering.
The beef and rice filling is savory and filling, with tomato sauce and cheese rounding out the flavors. Tender peppers contrast with the hearty stuffing for a balanced bite that works as a main dish.


Equipment
- Large Skillet
- Baking Dish
- Sharp Knife
Ingredients
- 4 orange bell peppers
- 1 pound ground beef
- 1 cup cooked rice
- 1 small onion, diced
- 2 cloves garlic, minced
- 1 cup tomato sauce
- 1 teaspoon paprika
- 1/2 teaspoon salt
- 1/4 teaspoon black pepper
- 1 cup shredded cheddar cheese
Instructions
- Preheat the oven to 375 degrees. Cut the tops off the bell peppers and remove the seeds and membranes. Use a small knife to carve jack-o’-lantern faces into the sides of each pepper.
- Place the carved peppers in a baking dish. Set the tops aside if you want to use them for presentation.
- Heat a large skillet over medium heat. Add the ground beef, diced onion, and minced garlic. Cook until the beef is browned and the onion is soft, breaking up the meat as it cooks.
- Stir in the cooked rice, tomato sauce, paprika, salt, and black pepper. Cook for 2 to 3 minutes until the mixture is heated through and well combined.
- Spoon the beef and rice mixture into each carved pepper until they are full. Sprinkle the shredded cheddar cheese evenly over the tops.
- Bake for 25 to 30 minutes until the peppers are tender and the cheese is melted and bubbly. Let them cool slightly before serving or transporting.
Notes
Cuisine: American
Equipment: Large Skillet, Baking Dish, Sharp Knife
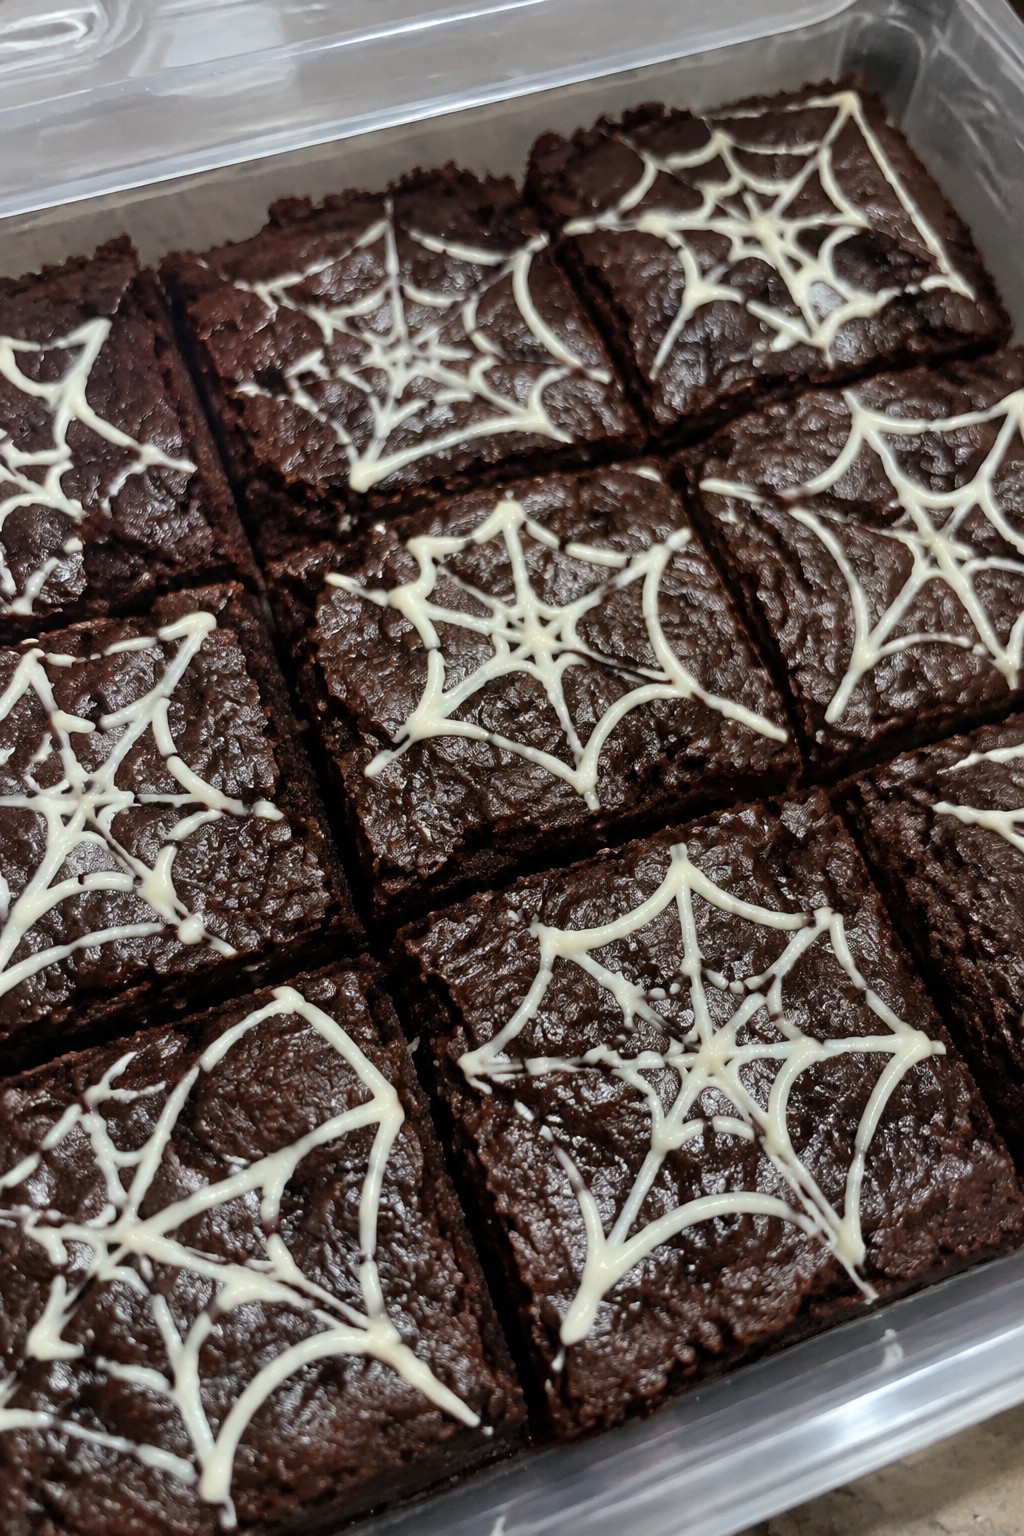
Chocolate Spiderweb Fudge Brownies
These brownies bring a fun Halloween touch to any potluck with their fudgy base and simple spiderweb design on top. They travel well in a covered pan and hold up at room temperature for several hours, making them easy to share at gatherings.
The texture stays dense and rich from the chocolate and butter, while the white chocolate web adds a mild sweetness and visual contrast without extra work.

Equipment
- Mixing Bowl
- Microwave
- Baking Pan
- Parchment Paper
Ingredients
- 1/2 cup unsalted butter
- 4 ounces semisweet chocolate, chopped
- 3/4 cup granulated sugar
- 2 large eggs
- 1 teaspoon vanilla extract
- 1/2 cup all-purpose flour
- 1/4 cup unsweetened cocoa powder
- 1/4 teaspoon salt
- 1/3 cup white chocolate chips
Instructions
- Preheat the oven to 350 degrees and line an 8×8 inch baking pan with parchment paper.
- In a microwave-safe bowl, melt the butter and semisweet chocolate together in 30-second bursts, stirring until smooth.
- Stir the sugar into the chocolate mixture until fully combined.
- Add the eggs one at a time, mixing well after each addition, then stir in the vanilla extract.
- Sift in the flour, cocoa powder, and salt. Fold gently until no dry streaks remain.
- Pour the batter into the prepared pan and spread evenly.
- Bake for 22 to 25 minutes until a toothpick comes out with a few moist crumbs. Let cool completely in the pan.
- Melt the white chocolate chips in the microwave in 20-second bursts until smooth.
- Spoon the melted white chocolate into a small zip-top bag, snip a tiny corner, and pipe circles on the cooled brownies. Drag a toothpick through the circles to form a spiderweb pattern.
- Cut into squares once the white chocolate sets.
Notes
Cuisine: American
Equipment: Mixing Bowl, Microwave, Baking Pan, Parchment Paper
Orange Creamsicle Halloween Trifle Cups
These individual trifle cups combine bright orange and creamy vanilla layers for a light, refreshing dessert that travels easily to potlucks. They work well for Halloween gatherings because the colors fit the season and the portions stay neat in clear cups. The texture stays soft with cake cubes, creamy pudding, and a light gelatin layer that holds its shape.
The flavor tastes like a creamsicle with sweet citrus notes balanced by vanilla cream. It comes together without baking, so you can focus on assembly and chilling.


Equipment
- Mixing bowls
- Whisk
- 4 clear serving cups
Ingredients
- 1 (3-ounce) package orange gelatin
- 1 cup boiling water
- 1 cup cold water
- 1 cup vanilla pudding
- 2 cups whipped topping, divided
- 1 teaspoon vanilla extract
- 8 ounces pound cake, cut into cubes
- 2 oranges, segmented
- Orange and black sprinkles, for garnish
Instructions
- Stir the orange gelatin into the boiling water until fully dissolved. Add the cold water and set the mixture aside to cool slightly until it thickens to a syrupy consistency.
- In a separate bowl, fold the vanilla pudding together with 1 cup of the whipped topping and the vanilla extract until smooth.
- Place a few pound cake cubes in the bottom of each of four clear cups. Add a few orange segments on top of the cake.
- Spoon a layer of the thickened orange gelatin over the fruit. Follow with a layer of the pudding and whipped topping mixture.
- Repeat the layers once more, ending with cake and orange segments if space remains. Finish each cup with a dollop of the remaining whipped topping and a sprinkle of orange and black sprinkles.
- Chill the cups for at least two hours before serving so the layers set.
Notes
Cuisine: American
Equipment: Mixing bowls, Whisk, 4 clear serving cups
Spiced Harvest Pumpkin Soup in Mini Bread Bowls
This soup brings cozy fall flavors to your Halloween potluck in a fun, portable way. The spiced pumpkin base tastes warm and creamy, while the mini bread bowls make it easy to serve and eat without extra dishes. It works well for gatherings because you can prepare the soup ahead and warm it on site.
The spices give it a gentle kick that pairs nicely with the soft bread. Guests can enjoy the soup right from the bowl, and the presentation feels festive without extra effort.


Equipment
- Large Pot
- Baking Sheet
- Knife
Ingredients
- 4 mini sourdough bread bowls
- 2 tablespoons butter
- 1 small onion, diced
- 2 cloves garlic, minced
- 1 can (15 oz) pumpkin puree
- 3 cups vegetable broth
- 1 teaspoon ground cinnamon
- 1/2 teaspoon ground nutmeg
- 1/4 teaspoon ground ginger
- 1/4 teaspoon ground cloves
- 1/2 cup heavy cream
- Salt and pepper to taste
- 2 tablespoons chopped fresh parsley
Instructions
- Preheat the oven to 350 degrees F. Slice the tops off each mini bread bowl and scoop out the centers to create a hollow space. Place the bowls on a baking sheet and warm them in the oven for 10 minutes.
- Melt the butter in a large pot over medium heat. Add the diced onion and cook until soft, about 5 minutes. Stir in the minced garlic and cook for 1 minute more.
- Add the pumpkin puree, vegetable broth, cinnamon, nutmeg, ginger, and cloves to the pot. Stir well and bring the mixture to a simmer. Cook for 15 minutes, stirring occasionally.
- Remove the pot from the heat. Stir in the heavy cream and season with salt and pepper. Let the soup sit for 5 minutes to thicken slightly.
- Ladle the soup into the warmed bread bowls. Sprinkle each serving with chopped fresh parsley before serving.
Notes
Cuisine: American
Equipment: Large Pot, Baking Sheet, Knife
