

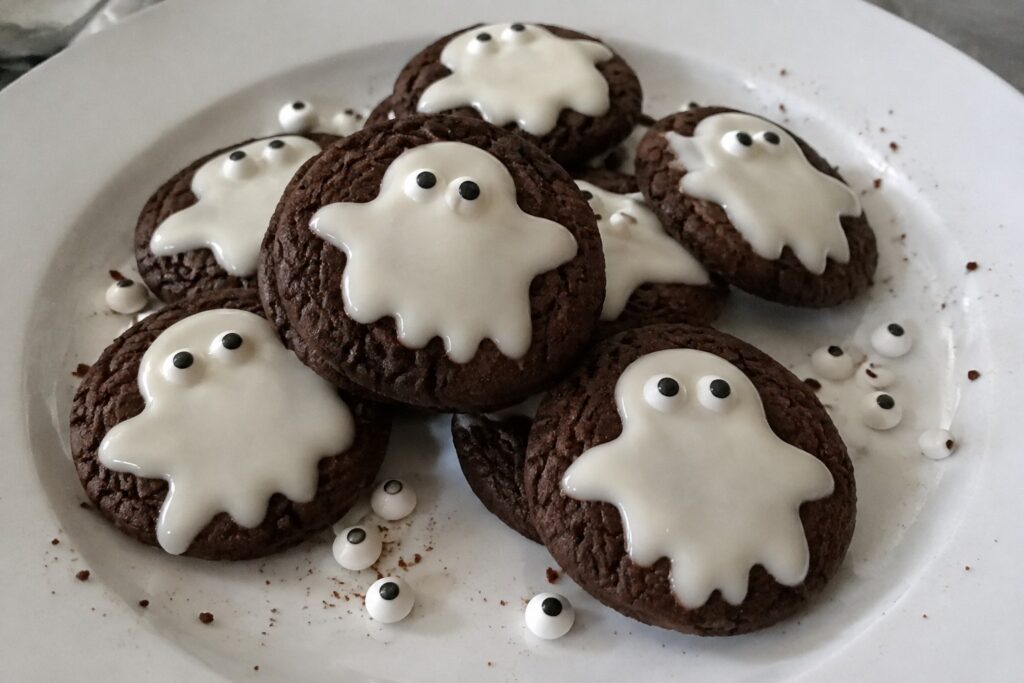
Halloween treats do not need to be complicated or take all day. These recipes use simple ingredients and steps that fit into a busy schedule. You can make most of them with things already in the pantry. They work well for school parties, family nights, or last minute plans. Each one stays quick while still tasting like something special.
Helpful Tips Before You Start
These tips will keep your Halloween treats quick to make and easy to finish.
Stock Simple Bases
Keep items like pretzels, cookies, and candy melts ready. They form the base for most treats and cut down on extra steps.
Work With What You Have
Use one or two colors of food coloring or sprinkles across several recipes. This avoids extra shopping and keeps the process fast.
Set a Timer for Chilling
Many treats need time to set in the fridge. Start a timer so you can move on to the next one without waiting around.
Clean As You Go
Wash bowls and tools between batches. It prevents buildup and makes the kitchen stay manageable while you finish all 13 treats.
No-Bake Spiderweb Chocolate Bark
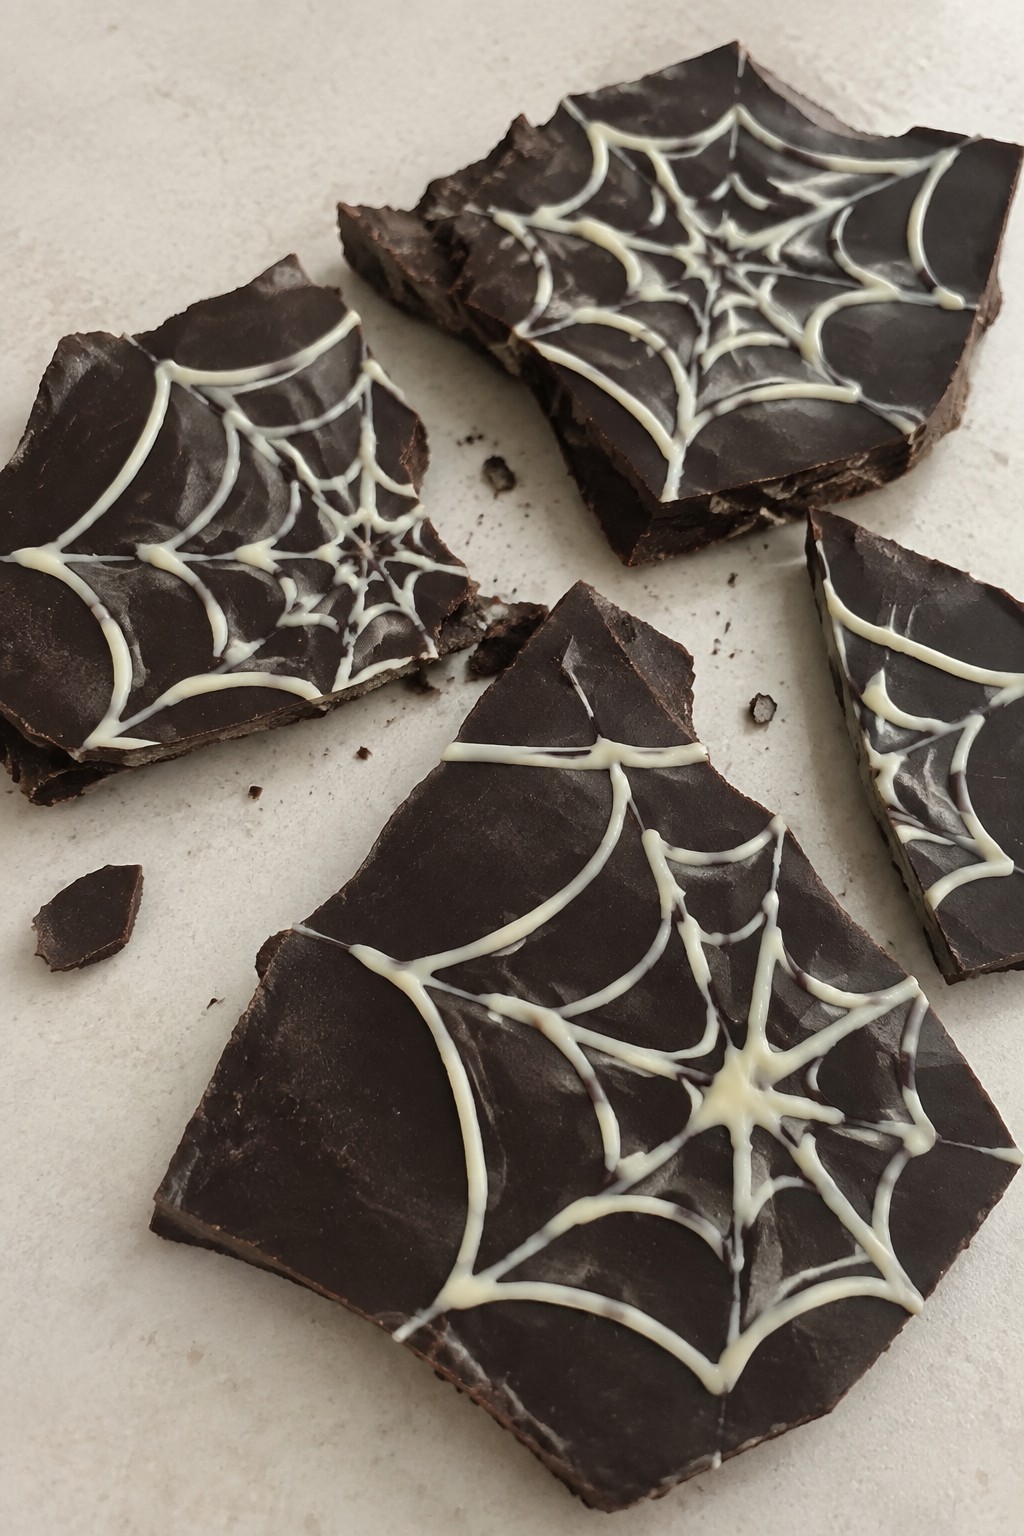
This no-bake treat comes together with melted chocolate and a simple web pattern. It works well for last-minute Halloween gatherings or when you want something sweet without turning on the oven.
The bark sets up with a firm snap and delivers rich chocolate flavor balanced by the lighter white chocolate lines on top.
Equipment
- Microwave-safe bowls
- Baking sheet
- Parchment paper
- Toothpick
Ingredients
- 8 ounces semi-sweet chocolate chips
- 4 ounces white chocolate chips
- 1 teaspoon coconut oil
Instructions
- Line a baking sheet with parchment paper and set it aside.
- Place the semi-sweet chocolate chips and 1/2 teaspoon of the coconut oil in a microwave-safe bowl. Heat in 30-second bursts, stirring after each, until fully melted and smooth.
- Pour the melted semi-sweet chocolate onto the prepared baking sheet and spread it into an even layer about 1/4 inch thick.
- Place the white chocolate chips and remaining 1/2 teaspoon coconut oil in a separate microwave-safe bowl. Heat in 20-second bursts, stirring after each, until melted and smooth.
- Drizzle the white chocolate over the dark chocolate layer in several concentric circles. Use a toothpick to drag lines from the center outward, creating a spiderweb design.
- Let the bark sit at room temperature until fully set, then break it into pieces.
Notes
Cuisine: American
Equipment: Microwave-safe bowls, Baking sheet, Parchment paper, Toothpick
Pumpkin Spice Ghost Cookies
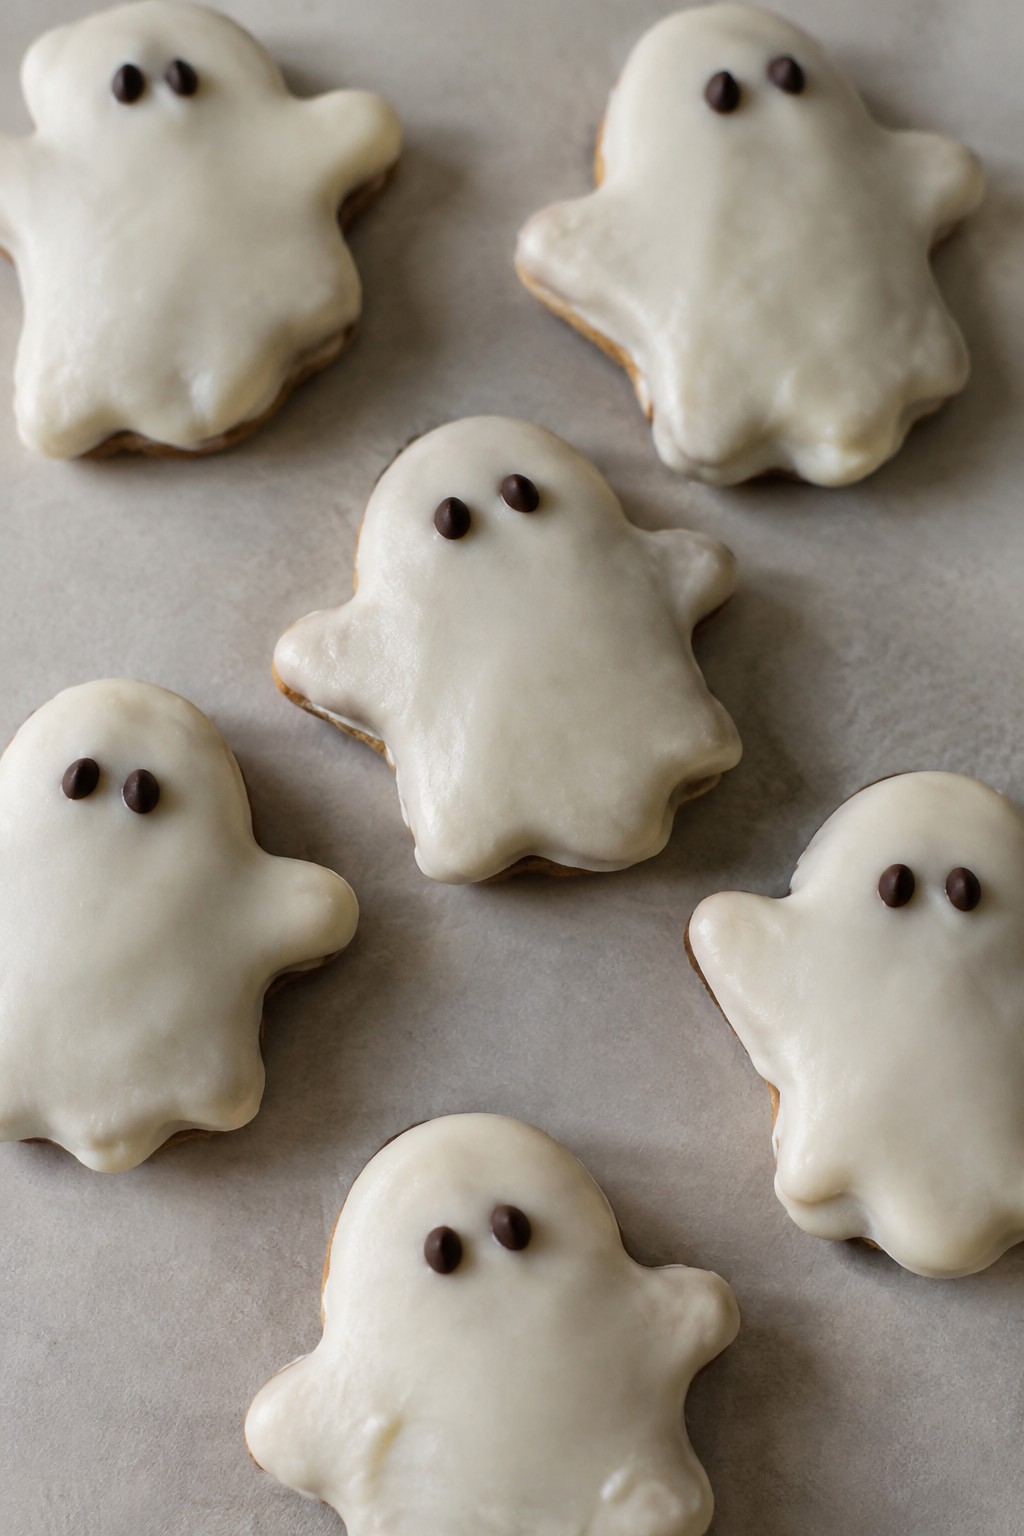
These Pumpkin Spice Ghost Cookies add a simple Halloween touch to a classic spiced treat. The warm flavors come together quickly for parties or family nights. They deliver a soft cookie base with a sweet coating that looks like little ghosts.
The finished cookies have a tender texture and balanced spice that contrasts with the smooth white chocolate top. Mini chocolate chips create the eyes with minimal fuss.

Equipment
- Mixing Bowl
- Baking Sheet
- Microwave
Ingredients
- 1 1/2 cups all-purpose flour
- 1 tablespoon pumpkin pie spice
- 1/2 teaspoon baking powder
- 1/2 cup unsalted butter, softened
- 1/2 cup brown sugar
- 1 egg yolk
- 1 teaspoon vanilla extract
- 8 ounces white chocolate chips
- 2 tablespoons mini chocolate chips
Instructions
- Preheat the oven to 350 degrees and line a baking sheet with parchment paper.
- Stir together the flour, pumpkin pie spice, and baking powder in a bowl.
- Cream the butter and brown sugar until light, then mix in the egg yolk and vanilla.
- Combine the wet and dry mixtures until a dough forms.
- Scoop the dough into eight portions, shape each into a rounded ghost form, and place them on the baking sheet.
- Bake for 10 to 12 minutes until the edges turn lightly golden, then let the cookies cool completely on a rack.
- Melt the white chocolate chips in the microwave in short bursts, stirring until smooth.
- Dip or spread the cooled cookies with the melted white chocolate to form the ghost shape, then press two mini chocolate chips into each as eyes.
- Allow the chocolate to set before serving.
Notes
Cuisine: American
Equipment: Mixing Bowl, Baking Sheet, Microwave
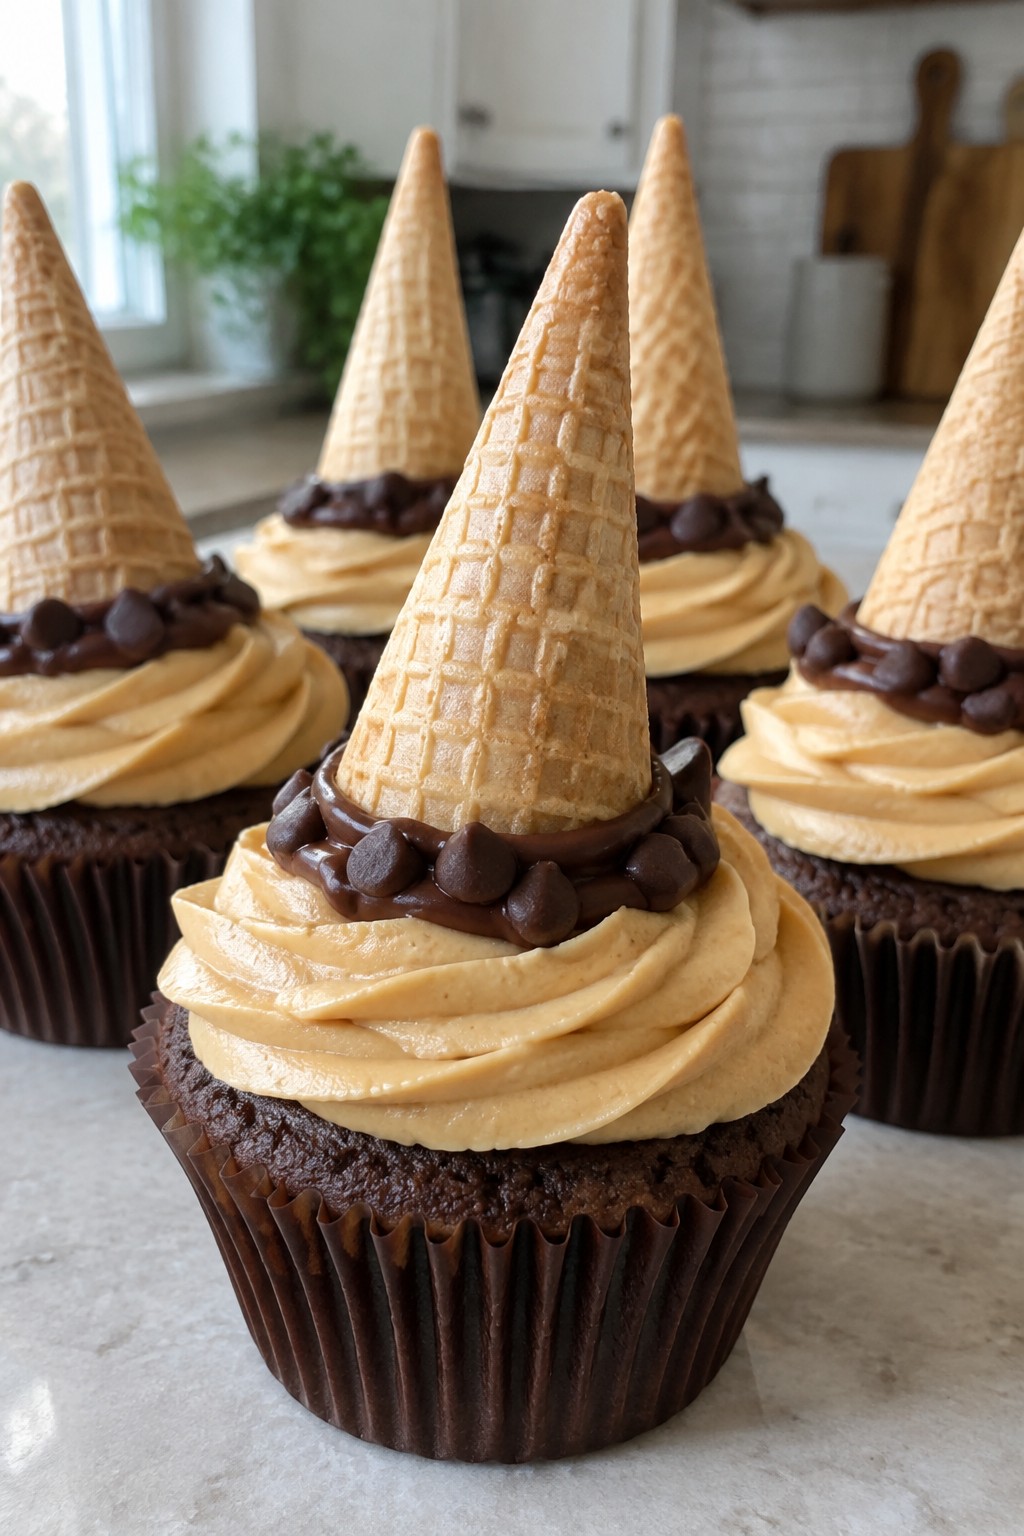
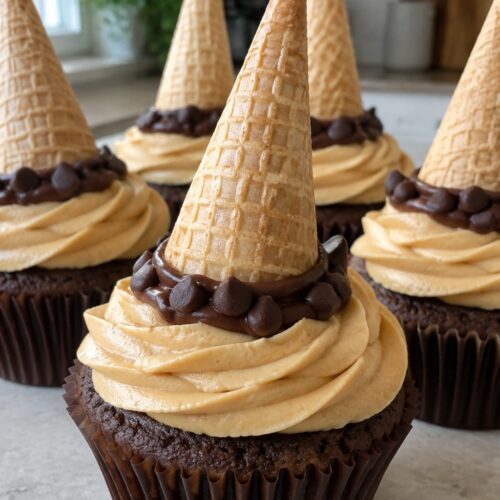
Witch Hat Peanut Butter Cupcakes
These Witch Hat Peanut Butter Cupcakes add a simple Halloween touch to any gathering. A chocolate cupcake base gets topped with creamy peanut butter frosting and a crisp cone hat for a treat that comes together fast.
The flavor pairs rich chocolate with sweet, salty peanut butter, while the cone adds a light crunch. They suit after-school snacks, small parties, or quick baking sessions with kids.
Equipment
- Mixing Bowl
- Microwave
- Spoon
Ingredients
- 4 chocolate cupcakes, cooled
- 1/2 cup creamy peanut butter
- 1 cup powdered sugar
- 3 tablespoons milk
- 4 sugar cones
- 1/2 cup chocolate chips
Instructions
- Combine the peanut butter, powdered sugar, and milk in a mixing bowl. Stir until the mixture forms a smooth, spreadable frosting.
- Spread an even layer of the peanut butter frosting over the top of each cooled chocolate cupcake.
- Place the chocolate chips in a microwave-safe bowl and heat in 20-second intervals, stirring between each, until fully melted.
- Dip the open edge of each sugar cone into the melted chocolate, then set the cone upright on top of a frosted cupcake to form the hat shape. Repeat with the remaining cones.
Notes
Cuisine: American
Equipment: Mixing Bowl, Microwave, Spoon
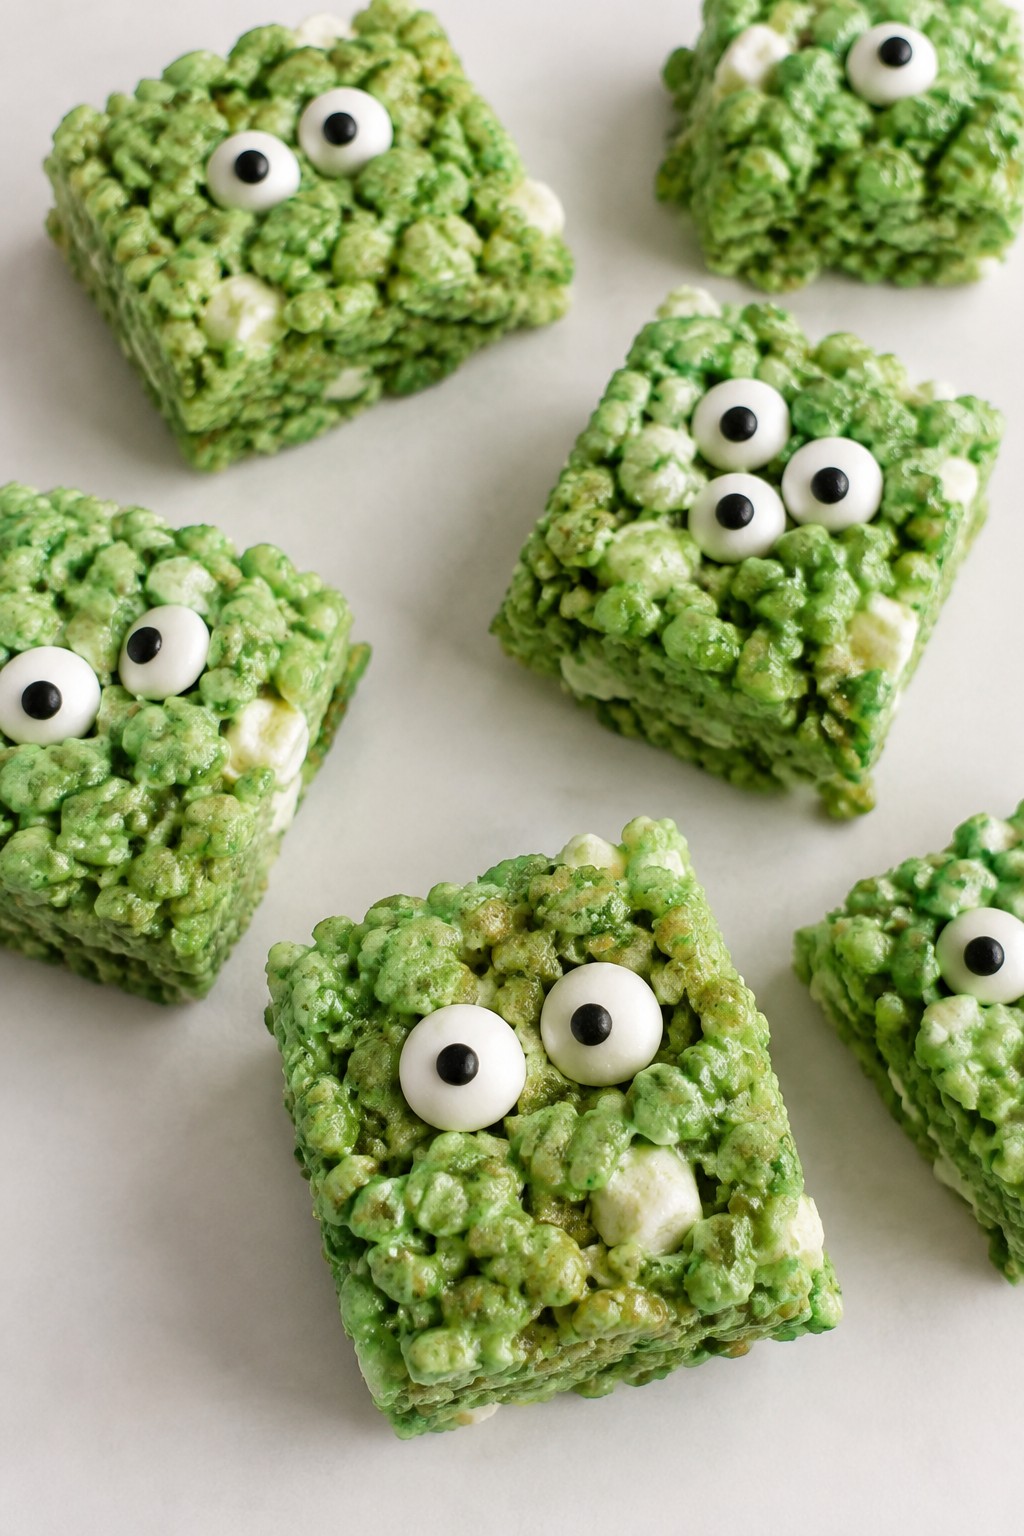
Monster Marshmallow Cereal Squares
These Monster Marshmallow Cereal Squares offer a simple way to add a fun Halloween touch to any gathering. They work well for quick after-school snacks or last-minute party trays since they require no baking and use basic ingredients.
The squares combine chewy marshmallows with crisp cereal for a satisfying texture. Green food coloring and candy eyes create a playful monster look that appeals to children.

Equipment
- Saucepan
- Large Bowl
- 8-inch Square Pan
Ingredients
- 3 tablespoons unsalted butter
- 10 ounces mini marshmallows
- 6 cups crispy rice cereal
- 1 teaspoon green food coloring
- 12 candy eyes
Instructions
- Line an 8-inch square baking pan with parchment paper and set it aside.
- Melt the butter in a large saucepan over medium heat.
- Add the mini marshmallows to the melted butter and stir until fully melted and smooth.
- Remove the pan from heat and stir in the green food coloring until the mixture is evenly colored.
- Add the crispy rice cereal to the marshmallow mixture and stir quickly until all the cereal is coated.
- Transfer the mixture to the prepared pan and press it down firmly with a spatula or lightly greased hands to create an even layer.
- While the mixture is still warm, press the candy eyes into the top in a scattered pattern, spacing them to create monster faces.
- Allow the squares to cool at room temperature for 30 minutes before cutting into 4 portions.
Notes
Cuisine: American
Equipment: Saucepan, Large Bowl, 8-inch Square Pan
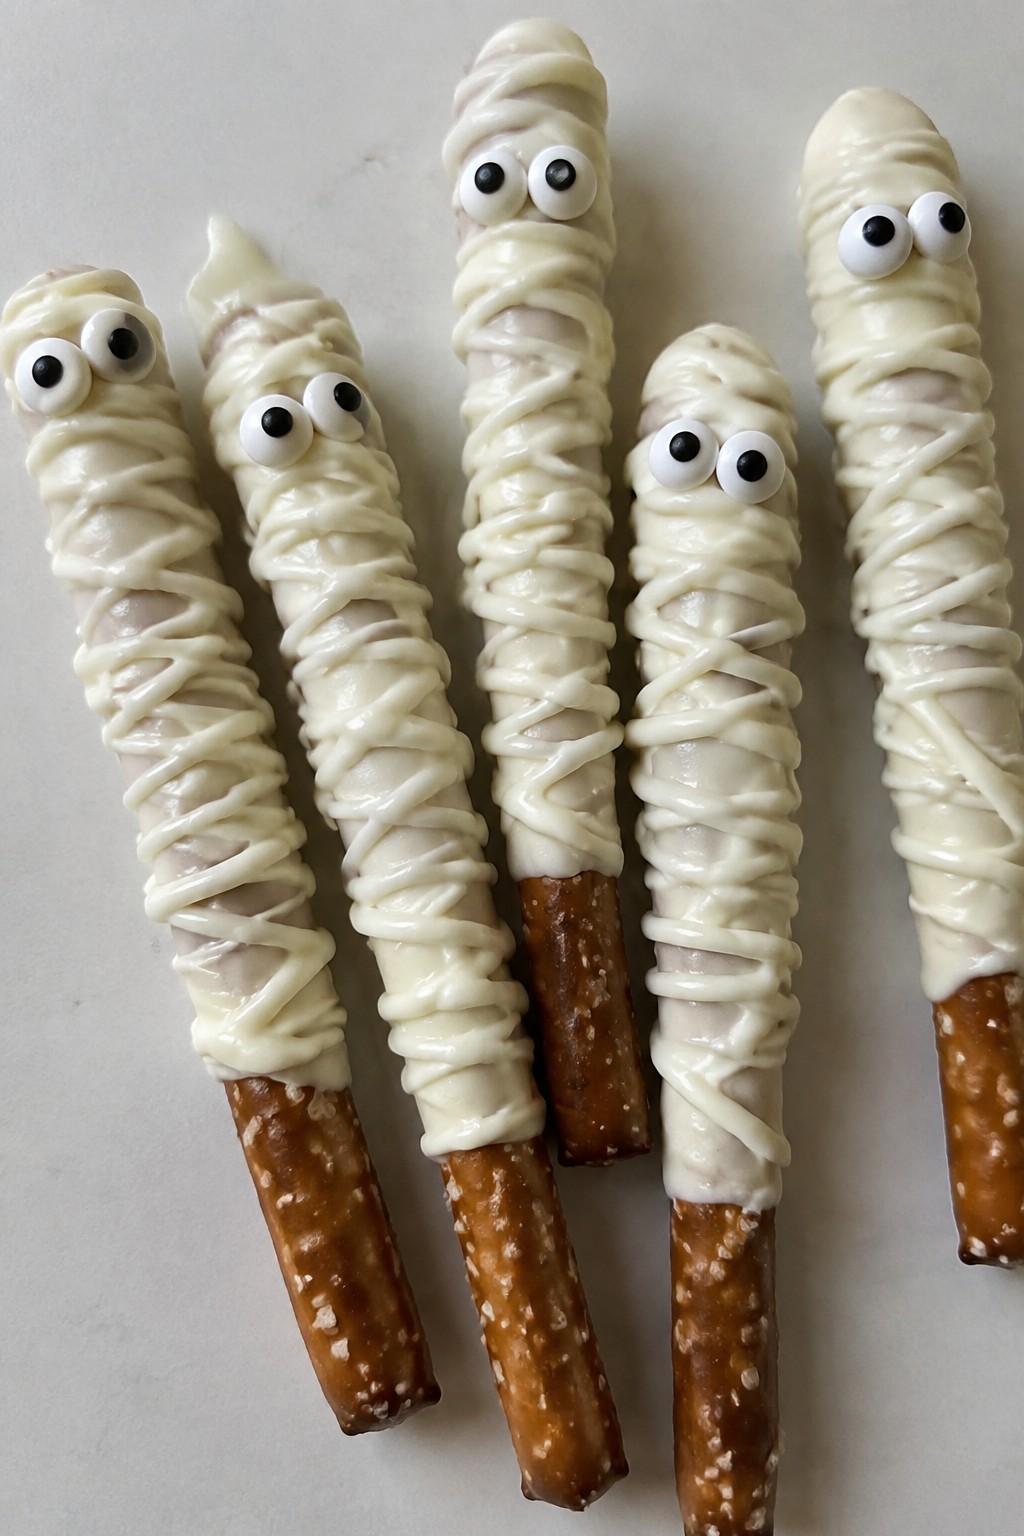
Mummy-Wrapped Pretzel Rods
These pretzel rods get a white chocolate coating that looks like mummy bandages. The result is a quick snack with salty crunch and sweet flavor that fits right into any Halloween spread.
They come together fast for parties or after-school fun. Kids can help add the eyes once the chocolate sets.

Equipment
- Microwave-safe bowl
- Baking sheet
- Parchment paper
Ingredients
- 12 pretzel rods
- 1 cup white chocolate melting wafers
- 24 candy eyeballs
Instructions
- Line a baking sheet with parchment paper and set the pretzel rods on it in a single layer.
- Place the white chocolate melting wafers in a microwave-safe bowl and heat in 30-second bursts, stirring between each, until fully smooth.
- Spoon the melted chocolate into a small zip-top bag and snip a tiny corner to create a piping tip.
- Drizzle the chocolate back and forth across each pretzel rod to form bandage-like stripes, leaving small gaps so the pretzel still shows through.
- Press two candy eyeballs onto the chocolate on each rod while it is still soft.
- Let the rods sit at room temperature until the chocolate hardens completely.
Notes
Cuisine: American
Equipment: Microwave-safe bowl, Baking sheet, Parchment paper
Candy Corn Popcorn Snack Mix
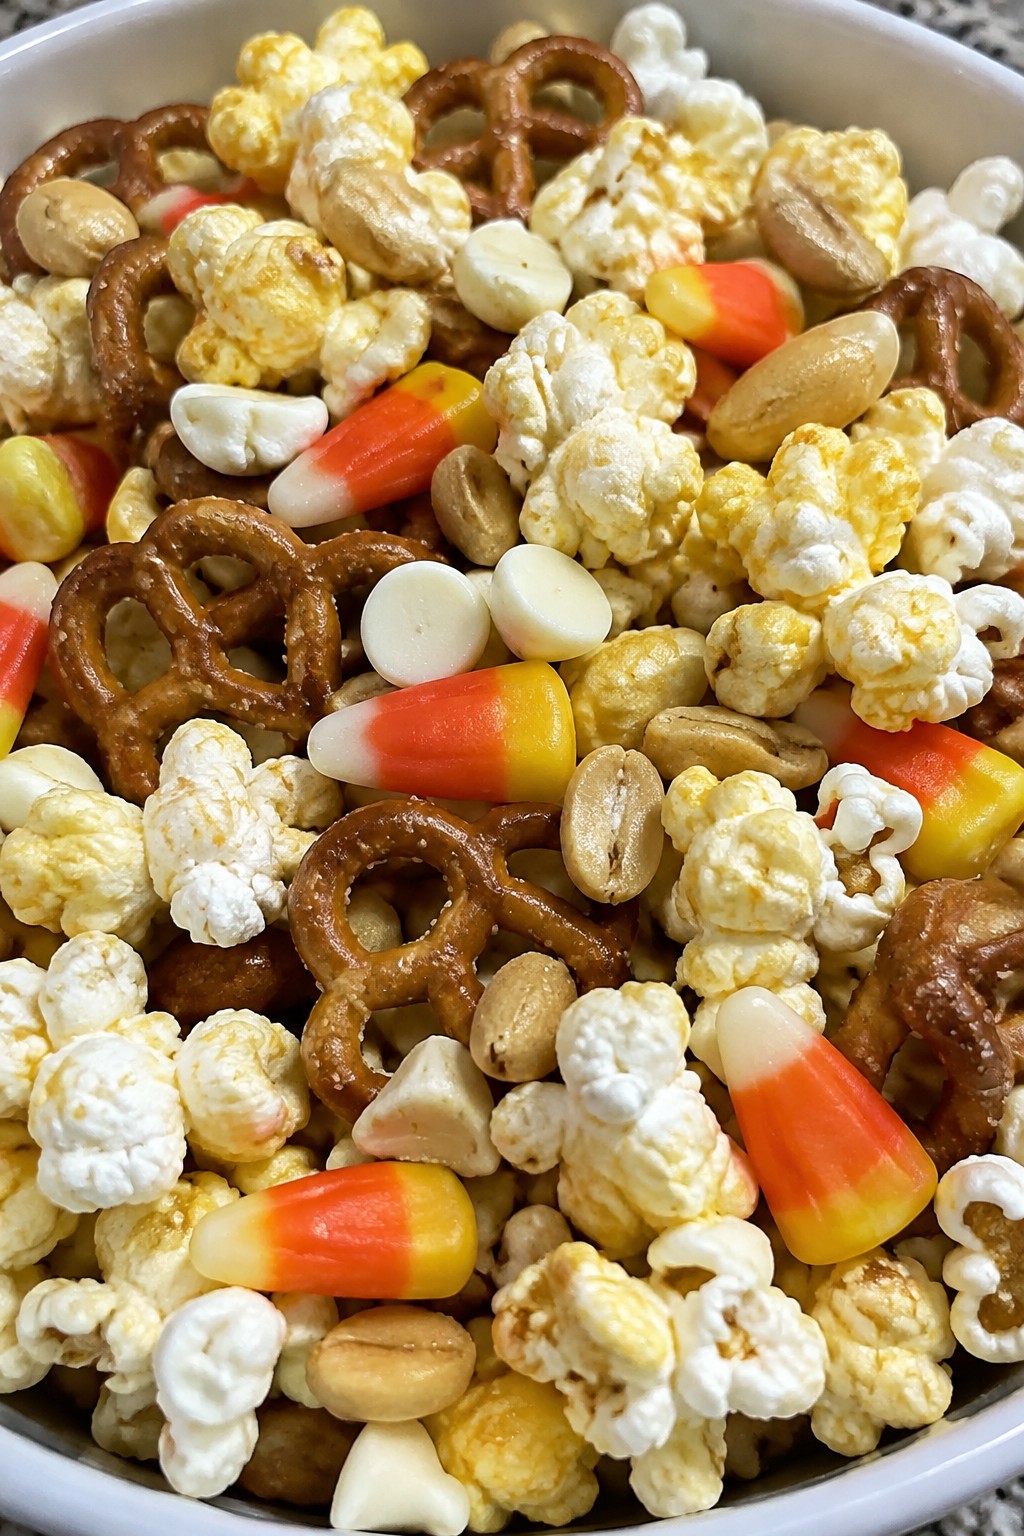
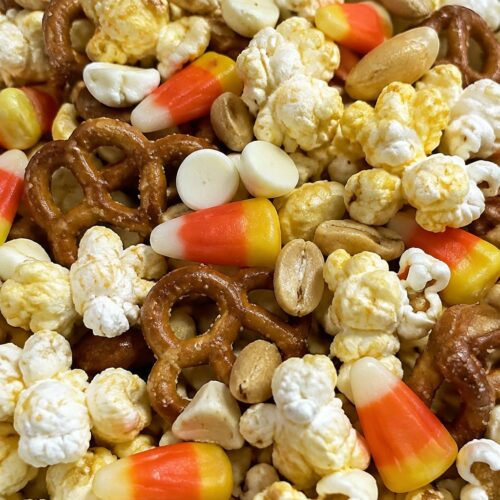
This snack mix brings together crunchy popcorn with chewy candy corn for a simple Halloween treat. It works well for movie nights, school parties, or last-minute gatherings when you need something sweet and salty without much effort. The result is a light, textured mix that balances buttery popcorn with bursts of sweetness.
Equipment
- Large mixing bowl
- Microwave-safe bowl
- Baking sheet
Ingredients
- 8 cups popped popcorn
- 1 1/2 cups candy corn
- 1 cup mini pretzels
- 1/2 cup salted peanuts
- 1/4 cup white chocolate chips
Instructions
- Place the popped popcorn in a large mixing bowl.
- Add the candy corn, mini pretzels, and salted peanuts to the bowl.
- Melt the white chocolate chips in a microwave-safe bowl in 20-second bursts, stirring between each until smooth.
- Drizzle the melted white chocolate over the popcorn mixture.
- Toss gently with a spatula until the pieces are lightly coated.
- Spread the mix on a parchment-lined baking sheet and let it set for 10 minutes before serving.
Notes
Cuisine: American
Equipment: Large mixing bowl, Microwave-safe bowl, Baking sheet
Black Cat Oreo Truffles
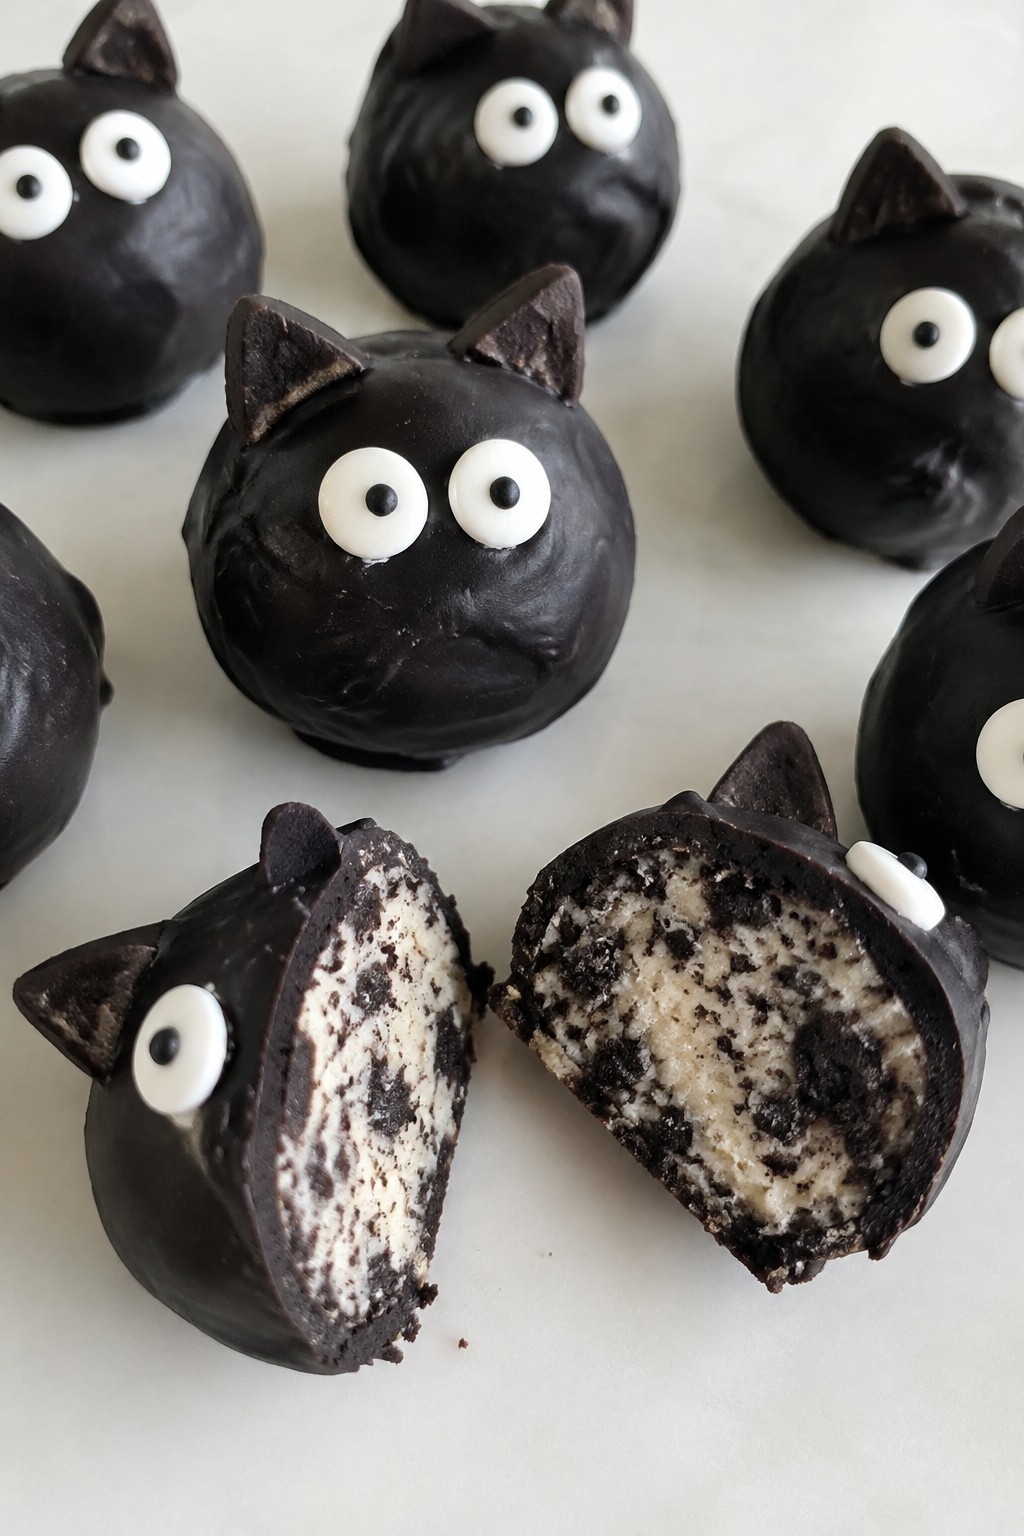
These no-bake truffles turn classic Oreos into fun Halloween cats. They work well for parties or quick after-school snacks because they come together fast and need only a short chill time. Each bite gives a creamy, cookie-filled center under a smooth chocolate shell.

Equipment
- Food processor
- Mixing bowl
- Baking sheet
- Microwave-safe bowl
Ingredients
- 20 Oreo cookies
- 4 ounces cream cheese, softened
- 8 ounces black candy melts
- 16 candy eyes
Instructions
- Place 16 Oreo cookies in a food processor and pulse until they form fine crumbs. Add the cream cheese and process until the mixture holds together.
- Scoop the mixture into 8 equal portions and roll each into a smooth ball. Place the balls on a parchment-lined baking sheet and freeze for 15 minutes.
- Melt the black candy melts in a microwave-safe bowl according to package directions. Dip each chilled ball into the melted candy, letting excess drip off, then return to the baking sheet.
- Break the remaining 4 Oreo cookies into quarters to create ear shapes. Press two pieces into the top of each truffle while the coating is still soft. Add two candy eyes to each truffle.
- Let the truffles set at room temperature until the coating hardens.
Notes
Cuisine: American
Equipment: Food processor, Mixing bowl, Baking sheet, Microwave-safe bowl
Frankenstein Avocado Chocolate Brownies
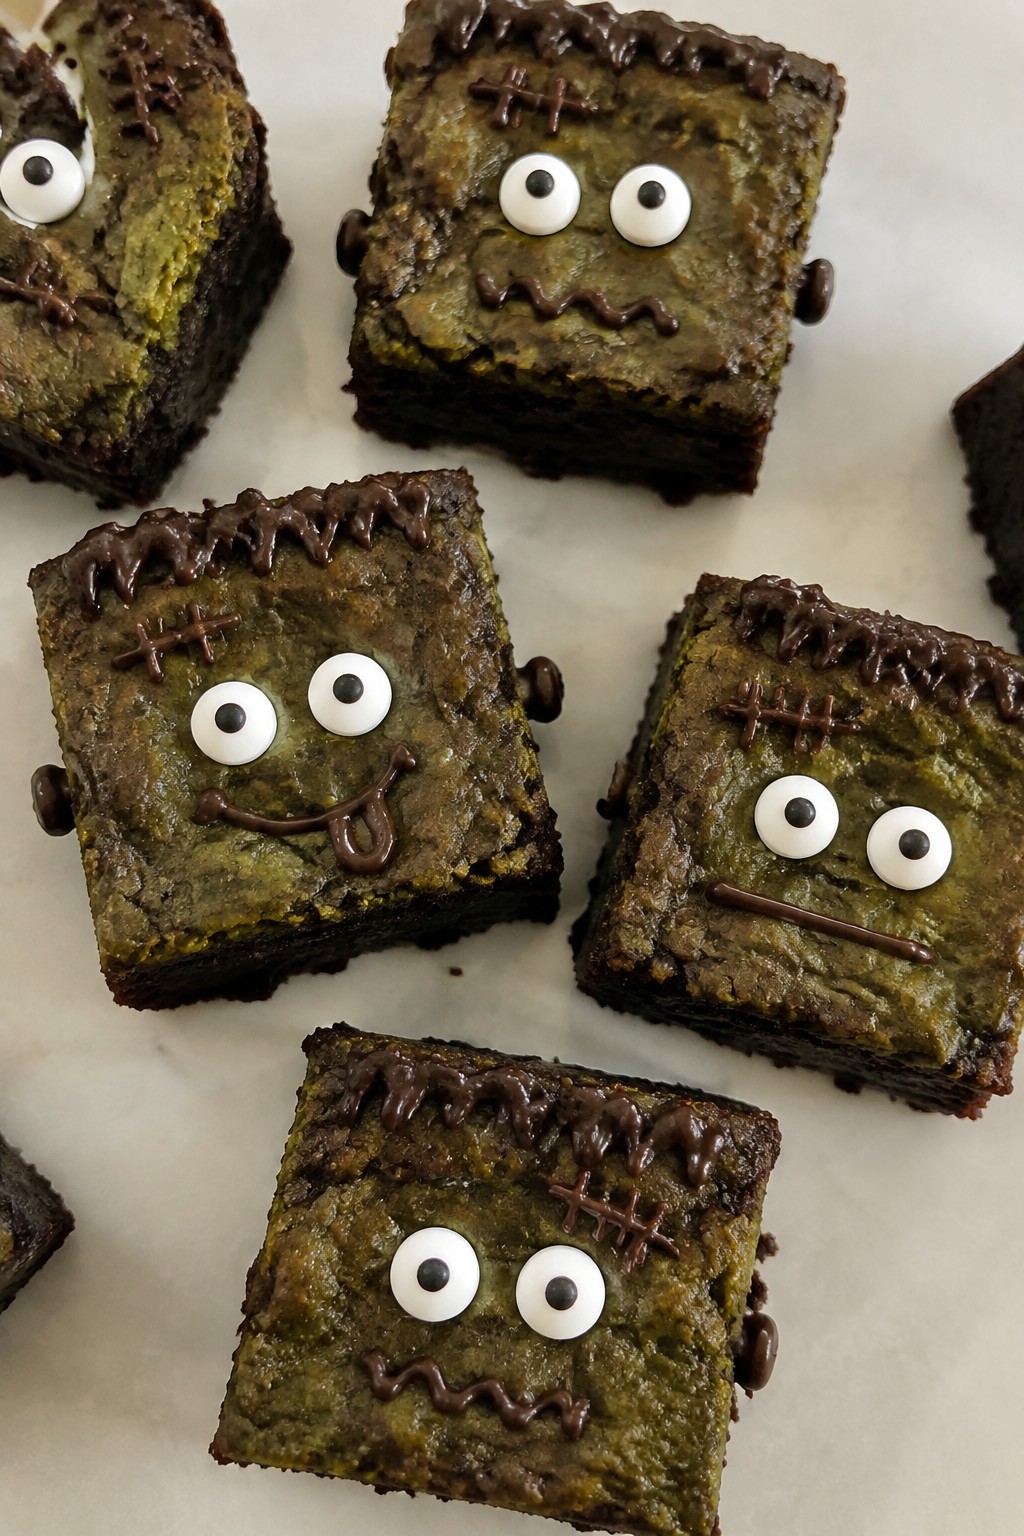
These brownies get their fudgy texture from ripe avocado and a natural green tint that suits the Frankenstein theme. They make a quick treat for Halloween parties or after-school snacks without needing fancy tools.
The chocolate flavor stays rich while the avocado keeps each bite moist. Kids enjoy adding the candy eyes and chocolate details to create silly faces.

Equipment
- Mixing Bowl
- Fork
- Baking Pan
Ingredients
- 2 ripe avocados
- 1/2 cup unsweetened cocoa powder
- 1/3 cup maple syrup
- 2 large eggs
- 1/4 cup almond flour
- 1 teaspoon vanilla extract
- 1/2 teaspoon baking soda
- 1/4 teaspoon salt
- 2 ounces dark chocolate
- 12 candy eyes
Instructions
- Preheat the oven to 350 degrees and line a small baking pan with parchment paper.
- Scoop the avocado flesh into a mixing bowl and mash it until smooth with a fork.
- Add the cocoa powder, maple syrup, eggs, almond flour, vanilla extract, baking soda, and salt to the bowl.
- Stir everything until a thick batter forms and no large lumps remain.
- Spread the batter evenly in the prepared pan.
- Bake for 18 to 20 minutes until the center feels firm to the touch.
- Let the brownies cool completely in the pan.
- Melt the dark chocolate in a small bowl in the microwave using short bursts.
- Drizzle or pipe the melted chocolate over the brownies to form hair and neck bolts.
- Press candy eyes onto each brownie to finish the faces.
Notes
Cuisine: American
Equipment: Mixing Bowl, Fork, Baking Pan
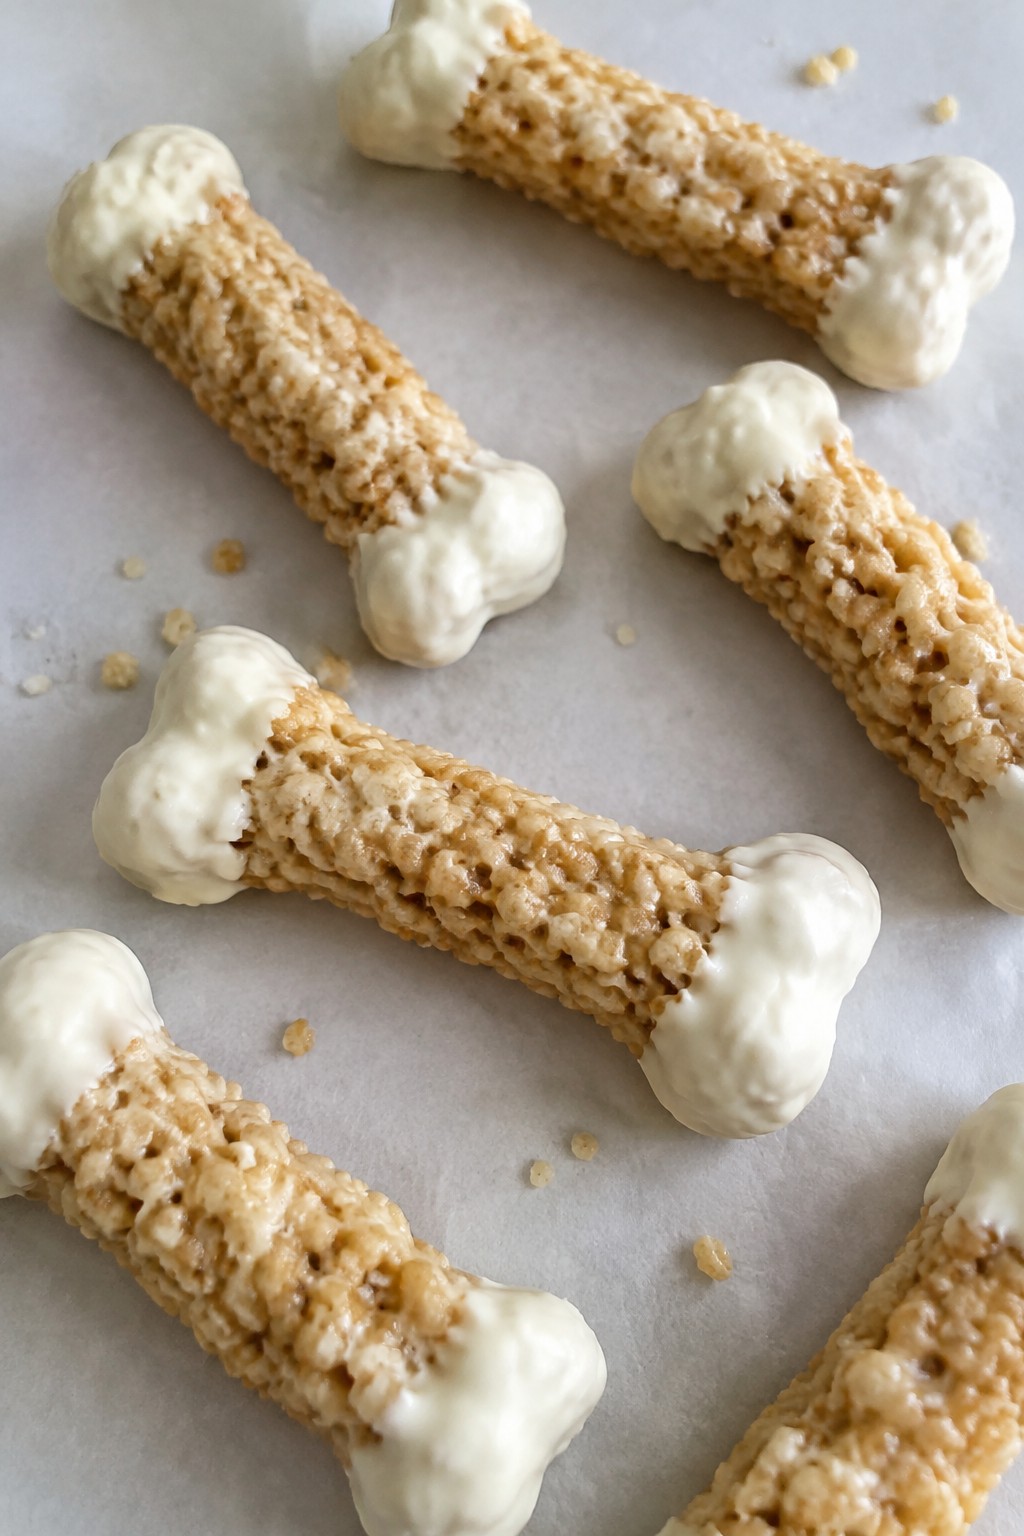
Skeleton Bone Rice Krispie Treats
These treats turn a classic cereal snack into a simple Halloween project. The shapes are easy to form by hand, and the white chocolate ends give them a bone-like look that fits right into a party spread. They stay crisp on the outside with a chewy center.
They work well for last-minute gatherings or an afternoon activity with kids. The flavor stays lightly sweet with a toasted marshmallow note.

Equipment
- Large saucepan
- Mixing spoon
- Baking sheet
Ingredients
- 3 tablespoons unsalted butter
- 4 cups mini marshmallows
- 6 cups Rice Krispies cereal
- 1/2 cup white chocolate chips
Instructions
- Melt the butter in a large saucepan over medium heat. Add the mini marshmallows and stir until they are fully melted and smooth.
- Remove the pan from the heat. Pour in the Rice Krispies cereal and stir quickly until every piece is coated.
- Let the mixture cool for one minute, then scoop out portions and shape them into long bone forms with your hands. Place the bones on a parchment-lined baking sheet.
- Melt the white chocolate chips in the microwave in short bursts, stirring between each one until smooth. Dip both ends of each bone into the chocolate and return them to the sheet to set.
Notes
Cuisine: American
Equipment: Large saucepan, Mixing spoon, Baking sheet
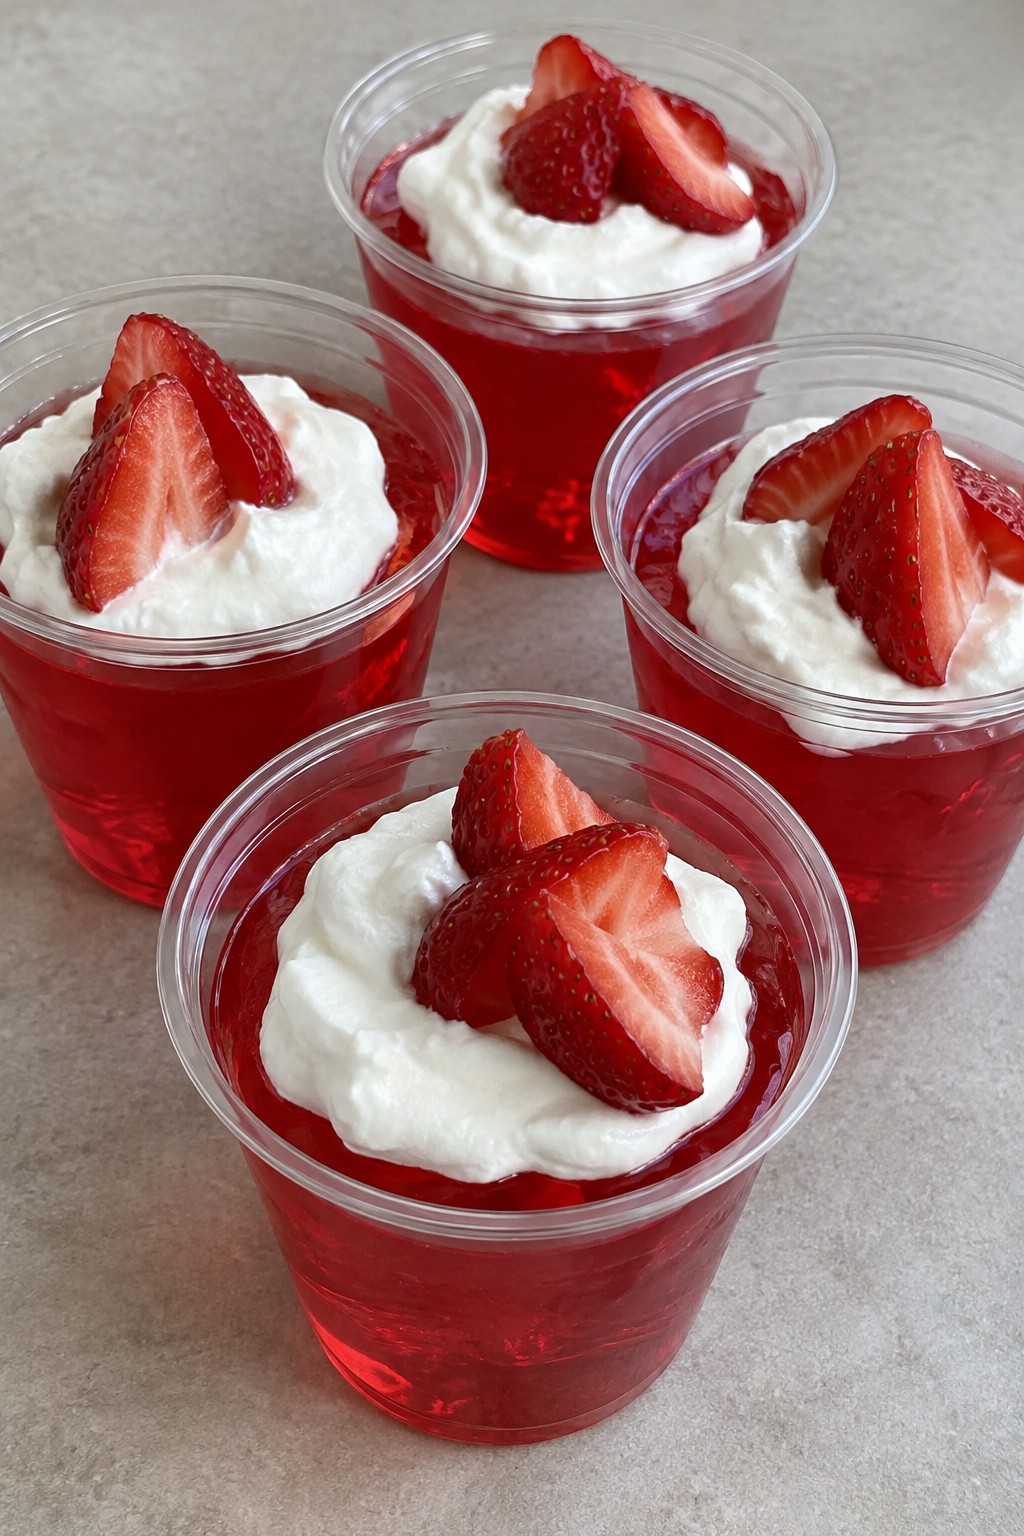
Vampire Strawberry Jello Cups
These Vampire Strawberry Jello Cups add a bright red touch to any Halloween table. They come together with just a few steps and deliver a sweet, wobbly strawberry flavor that appeals to all ages. The clear cups let the color show through, making them easy to serve at parties or after-school snacks.
They work well when you need a no-bake option that still feels themed. A simple topping keeps the look playful while the base stays light and refreshing.

Equipment
- Mixing bowl
- Measuring cups
- 4 clear plastic cups
Ingredients
- 1 package (3 oz) strawberry Jello mix
- 1 cup boiling water
- 1 cup cold water
- 4 clear plastic cups
- 1/2 cup whipped topping
- 4 strawberries, sliced
Instructions
- Pour the strawberry Jello mix into a mixing bowl and add the boiling water. Stir until the powder fully dissolves.
- Add the cold water to the bowl and stir to combine.
- Place the four clear plastic cups on a tray. Divide the Jello mixture evenly among the cups.
- Move the tray to the refrigerator and chill until the Jello sets firm.
- Once set, top each cup with a dollop of whipped topping.
- Arrange the sliced strawberries over the whipped topping on each cup before serving.
Notes
Cuisine: American
Equipment: Mixing bowl, Measuring cups, 4 clear plastic cups
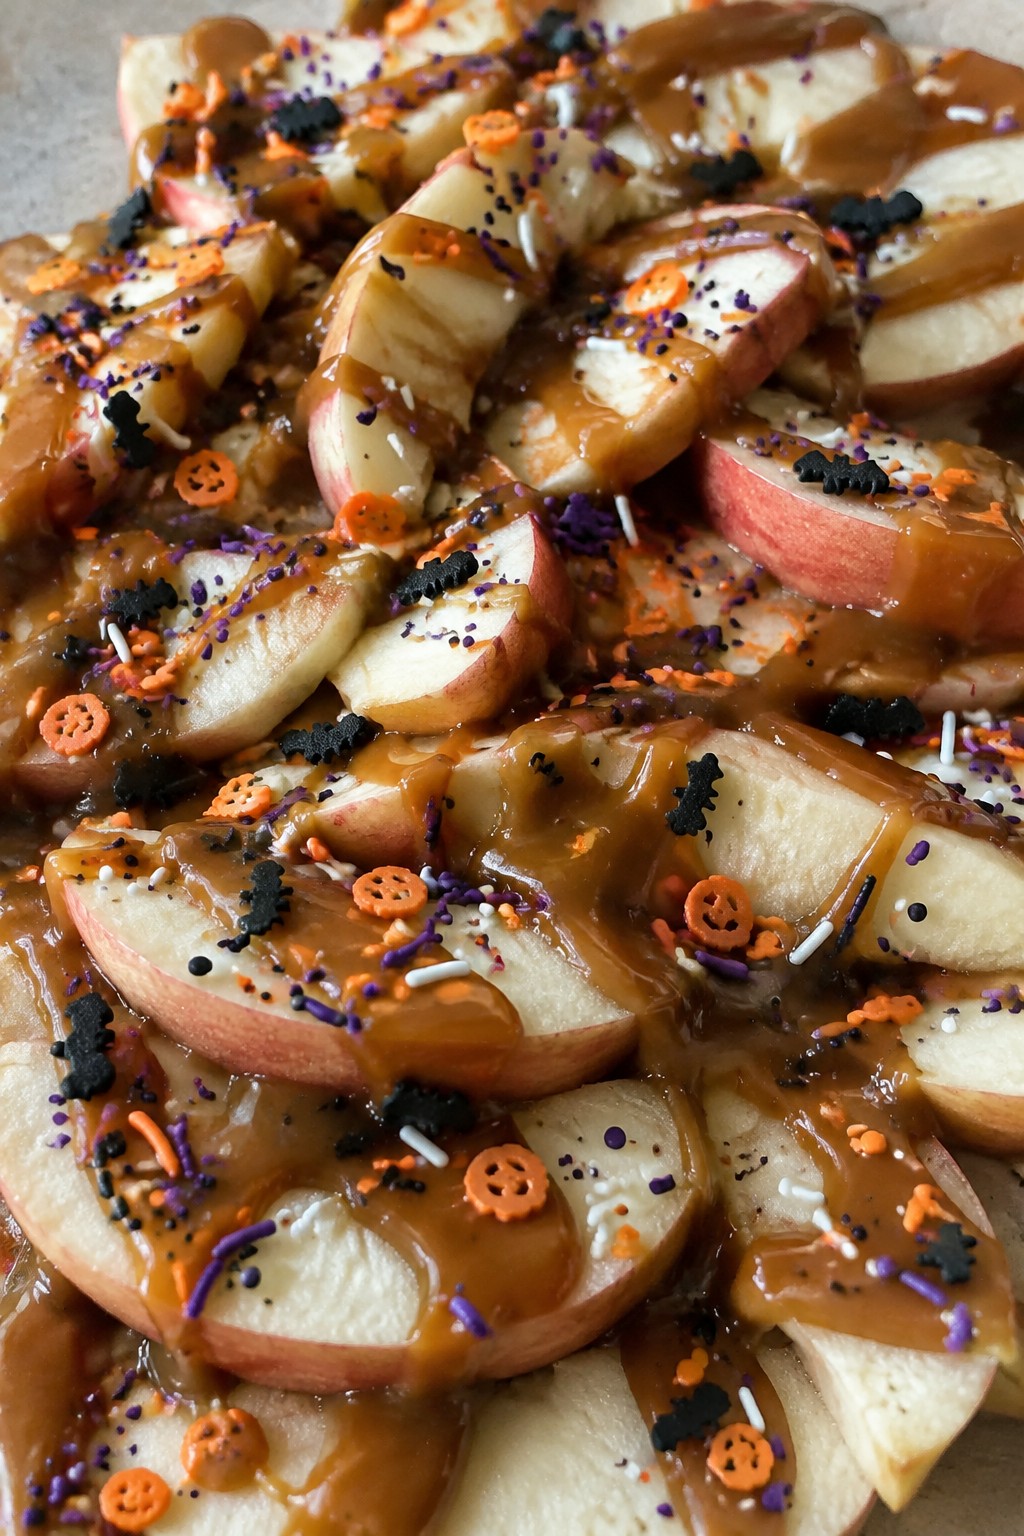
Caramel Apple Nachos with Sprinkles
This treat turns apple slices into the base for a shareable snack. It comes together fast with no oven time and works well for last-minute Halloween gatherings or after-school snacks.
The crisp apple pairs with gooey caramel and colorful sprinkles for a fun bite that feels festive without much effort.

Equipment
- Knife
- Cutting board
- Serving platter
- Microwave-safe bowl
Ingredients
- 4 large apples, cored and sliced
- 1/2 cup caramel sauce
- 1/4 cup Halloween sprinkles
Instructions
- Core the apples and cut them into thin wedges. Place the slices in a single layer on a large serving platter.
- Warm the caramel sauce in a microwave-safe bowl for 20 seconds if it is too thick to drizzle. Pour it evenly over the apple slices.
- Scatter the Halloween sprinkles across the top so they stick to the caramel.
Notes
Cuisine: American
Equipment: Knife, Cutting board, Serving platter, Microwave-safe bowl
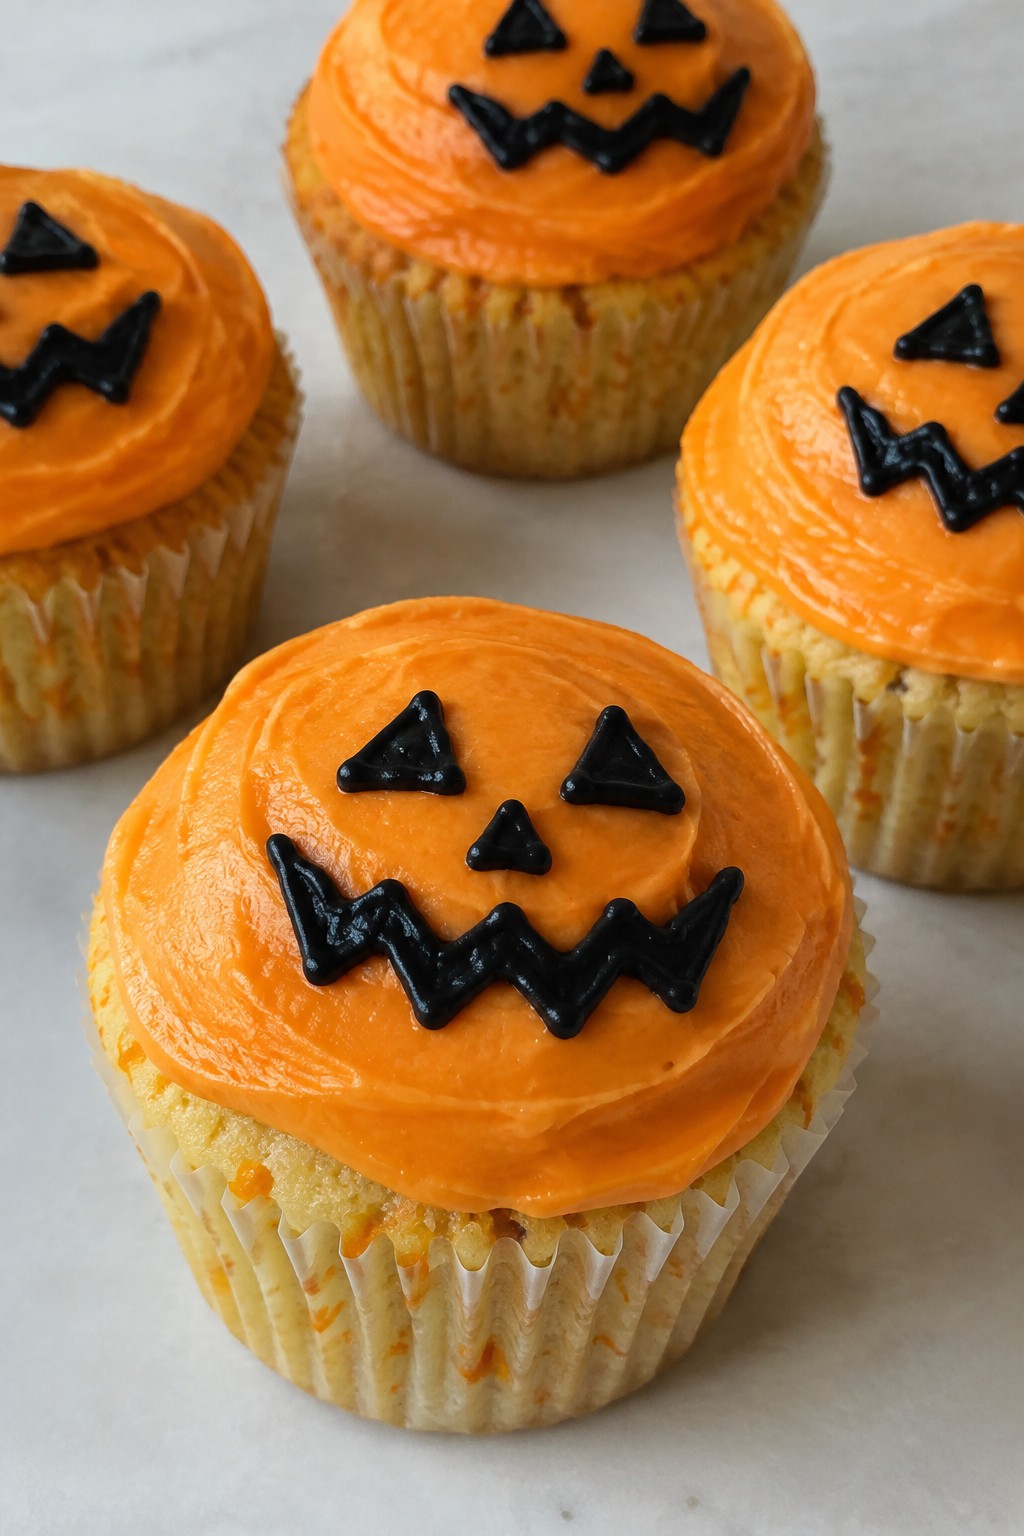
Jack-o’-Lantern Orange Cupcakes
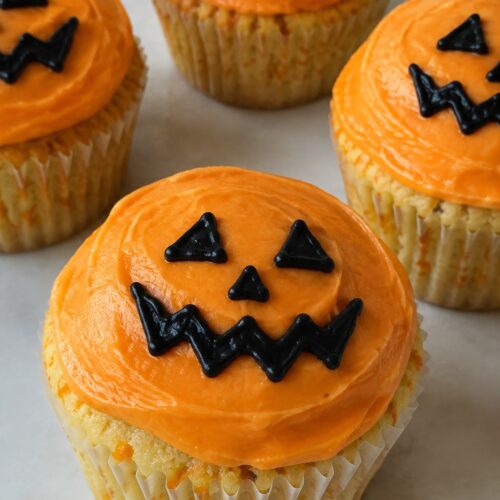
These Jack-o’-Lantern Orange Cupcakes bring a bright citrus note to Halloween gatherings. They bake up moist and light with fresh orange flavor that balances the sweet frosting.
The simple decorating step turns each cupcake into a fun jack-o’-lantern face. They work well for last-minute parties or school events when you need something quick and cheerful.
Equipment
- Mixing bowls
- Muffin tin
- Whisk
- Oven
Ingredients
- ¾ cup all-purpose flour
- ½ cup granulated sugar
- 1 teaspoon baking powder
- ¼ teaspoon salt
- ¼ cup vegetable oil
- ¼ cup orange juice
- 1 large egg
- Zest from 1 orange
- ½ teaspoon vanilla extract
- 1 cup vanilla frosting
- 4 drops orange food coloring
- Black decorating icing
Instructions
- Preheat the oven to 350 degrees and line a muffin tin with 4 paper liners.
- In a medium bowl, whisk together the flour, sugar, baking powder, and salt.
- In a separate bowl, mix the vegetable oil, orange juice, egg, orange zest, and vanilla extract until smooth.
- Pour the wet mixture into the dry ingredients and stir until just combined.
- Divide the batter evenly among the 4 liners and bake for 18 to 20 minutes, or until a toothpick comes out clean.
- Let the cupcakes cool completely in the tin.
- Place the vanilla frosting in a bowl and stir in the orange food coloring until evenly tinted.
- Spread the orange frosting over each cooled cupcake.
- Use the black decorating icing to draw jack-o’-lantern faces on top of the frosting.
Notes
Cuisine: American
Equipment: Mixing bowls, Muffin tin, Whisk, Oven
Spooky White Chocolate Covered Pretzels
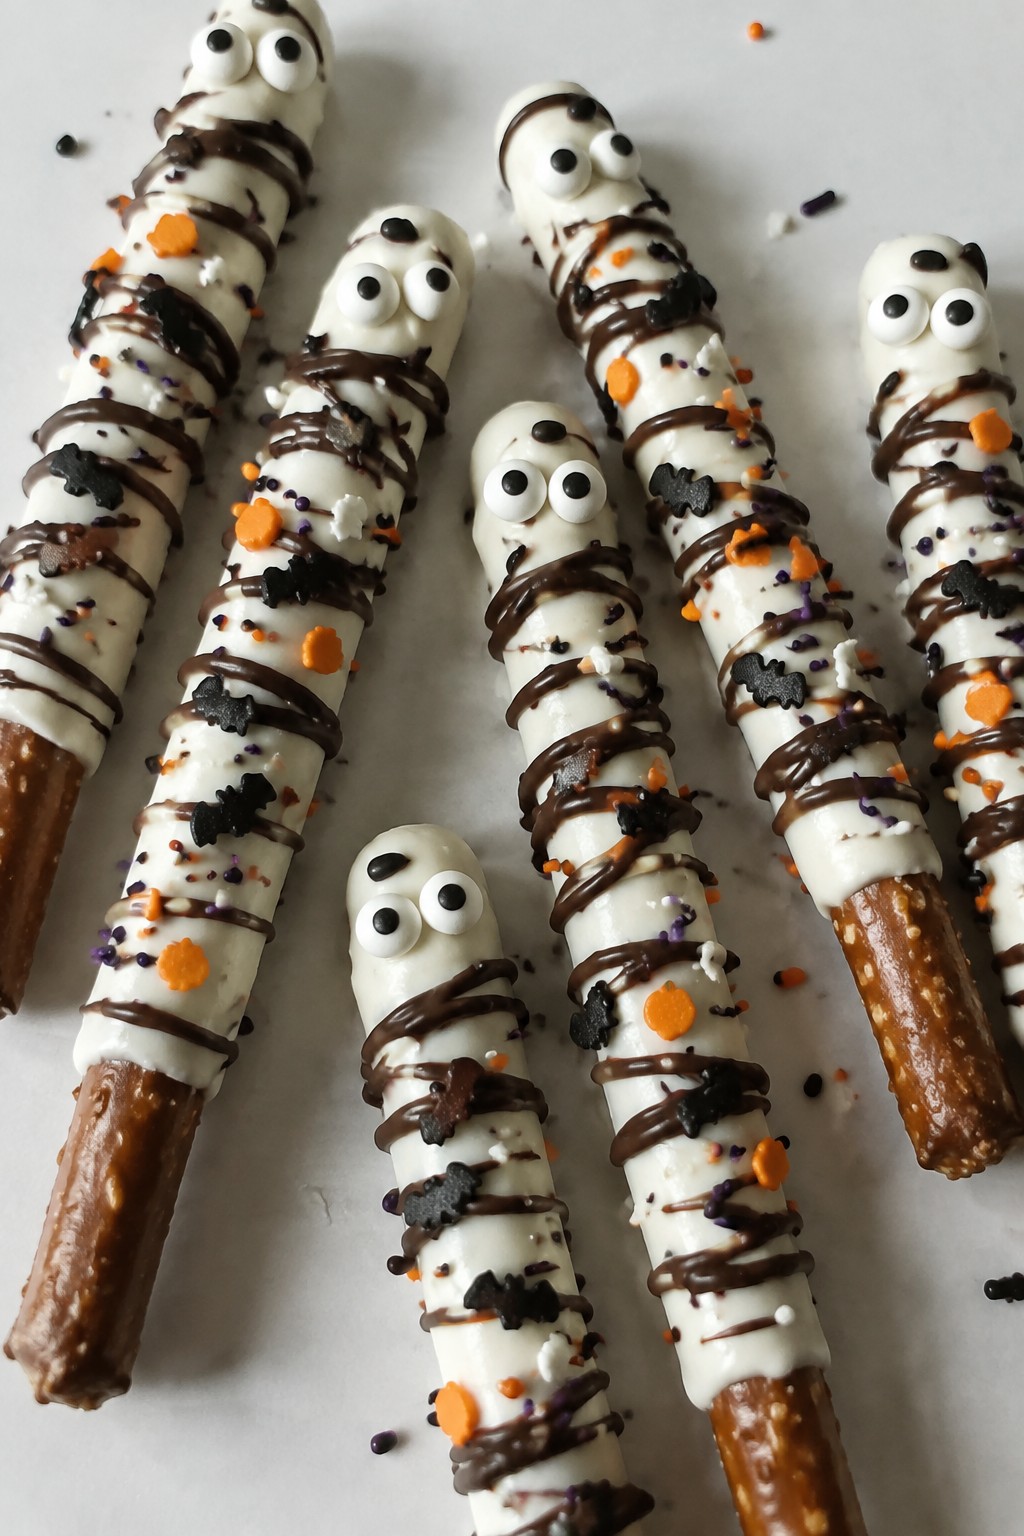
These white chocolate covered pretzels get a fun Halloween update with candy eyes and a dark chocolate drizzle. They make a quick treat for parties or movie nights when you need something sweet and salty without much effort. The crisp pretzel base stays crunchy under the smooth coating, and the spooky details add a playful touch.

Equipment
- Microwave-safe bowl
- Baking sheet
- Parchment paper
Ingredients
- 24 pretzel rods
- 12 ounces white chocolate melts
- 1/4 cup dark chocolate melts
- 48 small candy eyes
- 2 tablespoons Halloween sprinkles
Instructions
- Line a baking sheet with parchment paper and set it aside.
- Place the white chocolate melts in a microwave-safe bowl and heat in 30-second intervals, stirring between each, until fully melted and smooth.
- Dip each pretzel rod halfway into the melted white chocolate, letting excess drip back into the bowl.
- Lay the dipped pretzels on the prepared baking sheet and immediately press two candy eyes onto the white chocolate while it is still soft.
- Melt the dark chocolate melts in a separate bowl using the same method, then drizzle it lightly over the coated pretzels with a spoon.
- Sprinkle the Halloween sprinkles over the pretzels before the chocolate sets. Let everything harden at room temperature.
Notes
Cuisine: American
Equipment: Microwave-safe bowl, Baking sheet, Parchment paper
