


Halloween snacks can still be fun without relying on lots of sugar or processed ingredients. These ideas use simple swaps to keep things lighter while holding onto the flavors that make them appealing. You will see options that work for school lunches, parties, or just something to have on hand. Each recipe stays practical with steps that do not require special equipment or hard to find items. They focus on results that taste good enough to serve without anyone noticing the changes.
Helpful Tips Before You Start
These tips will help your healthy Halloween snacks come together smoothly and taste their best.
Pick Ripe Produce First
Choose fresh fruits and vegetables at their peak. They add natural sweetness and better texture to snacks without extra sugar.
Cut Shapes While Ingredients Are Firm
Use cookie cutters on firmer items like cheese, apples, or sweet potato slices. This keeps edges clean and prevents tearing.
Taste and Adjust as You Go
Sample mixtures before chilling or baking. A small squeeze of lemon or pinch of cinnamon can brighten flavors in healthy bases.
Prep Components Ahead of Time
Wash and portion ingredients the day before. This keeps assembly quick when you are ready to make multiple snacks.
Store Finished Snacks Properly
Keep cut fruit snacks in airtight containers with a damp paper towel. They stay fresh longer and hold their shape until serving.
Pumpkin Hummus with Carrot Broomstick Dippers
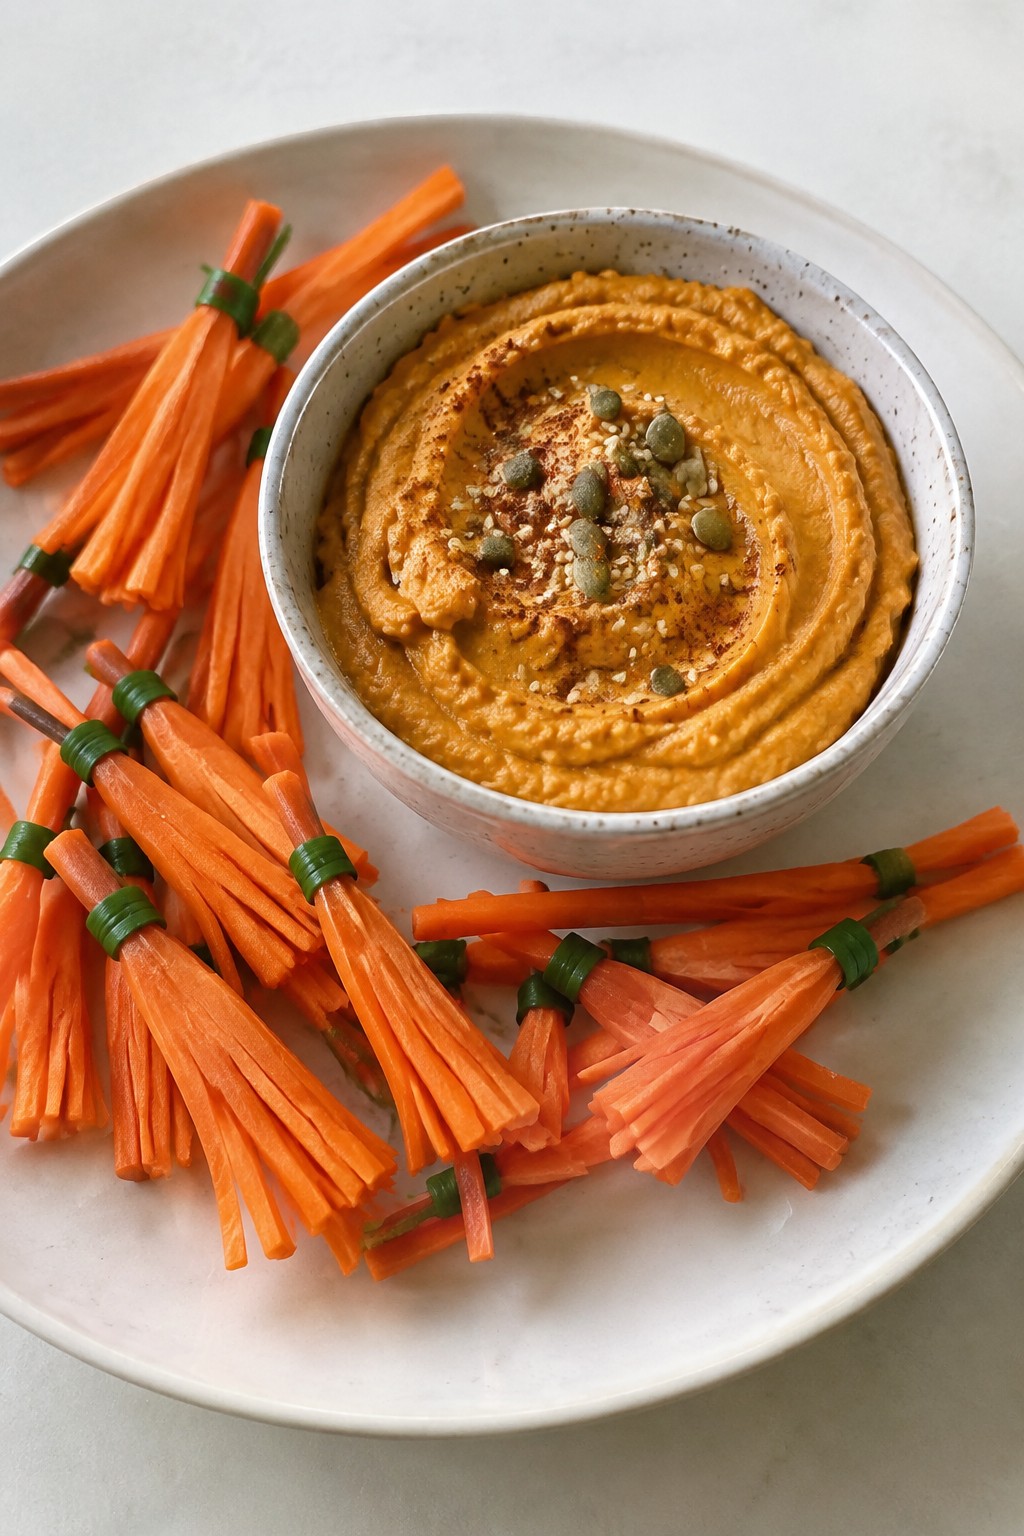
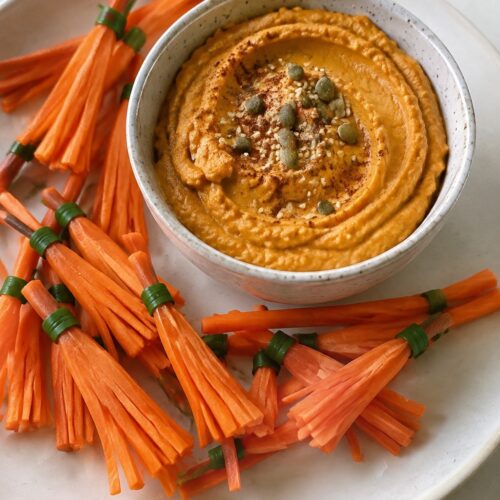
This snack brings a festive touch to Halloween without extra sugar. The pumpkin adds a mild sweetness and smooth texture to classic hummus, while the carrot dippers give a crisp contrast that fits the season. It works well for afternoon snacks or small gatherings where you want something colorful and simple.
Equipment
- Food processor
- Cutting board
- Knife
- Serving bowl
Ingredients
- 1 (15-ounce) can chickpeas, drained and rinsed
- ¾ cup pumpkin puree
- 2 tablespoons tahini
- 1 garlic clove, minced
- 2 tablespoons olive oil
- 1 tablespoon lemon juice
- 1 teaspoon ground cumin
- ½ teaspoon salt
- 6 carrots, trimmed and cut into thin sticks
Instructions
- Add the chickpeas, pumpkin puree, tahini, minced garlic, olive oil, lemon juice, cumin, and salt to a food processor.
- Blend the mixture until it reaches a smooth and creamy consistency, stopping once or twice to scrape down the sides.
- Taste the hummus and adjust the salt if needed, then transfer it to a serving bowl.
- Arrange the carrot sticks around the bowl, fanning them out to resemble small broomsticks.
Notes
Cuisine: American
Equipment: Food processor, Cutting board, Knife, Serving bowl
Monster Green Smoothie Frozen Yogurt Bark
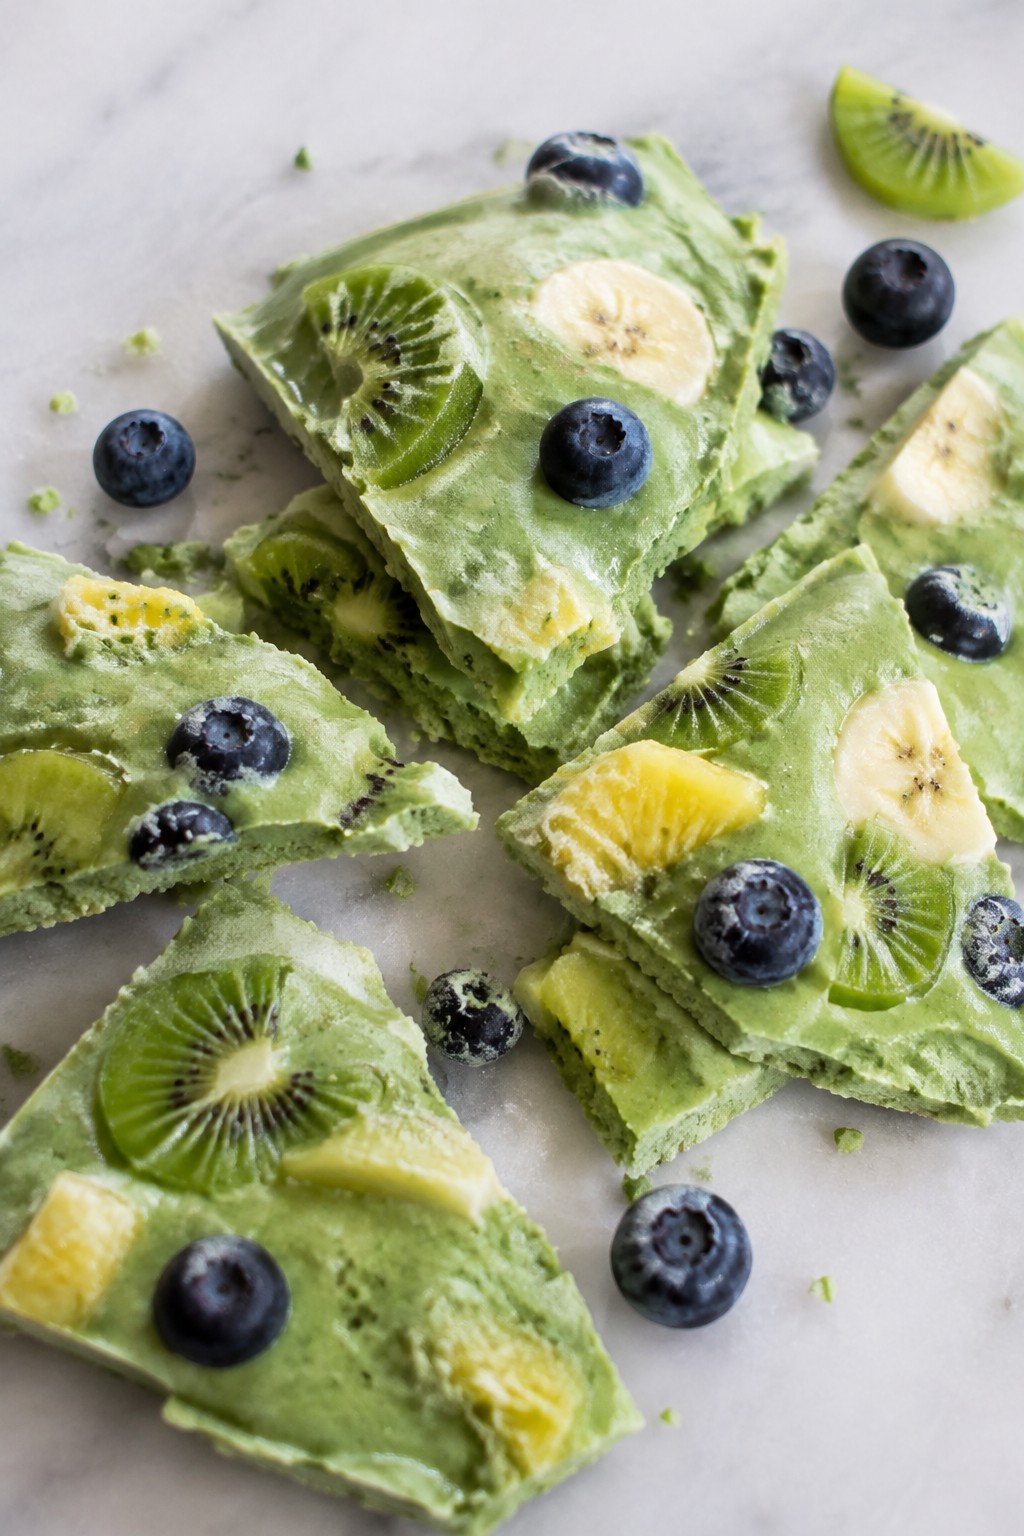
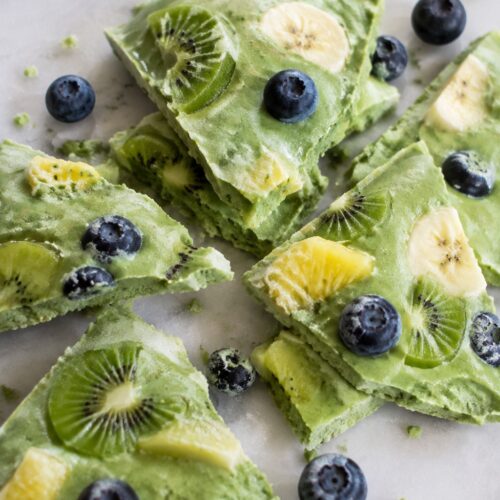
This frozen bark turns a simple green smoothie into a cool snack that fits right into Halloween plans. The bright green color comes from spinach blended with fruit, while Greek yogurt gives it a creamy base that freezes into breakable pieces. Kids and adults both enjoy the lightly sweet flavor and the way it feels like a treat without extra sugar.
It works well as an afternoon snack or a make-ahead option for parties. The texture stays smooth from the yogurt yet light enough to bite into straight from the freezer.
Equipment
- Blender
- Baking Sheet
- Parchment Paper
Ingredients
- 2 cups plain Greek yogurt
- 1 large banana
- 1 cup fresh spinach leaves
- 1/2 cup frozen pineapple chunks
- 1 tablespoon honey
- 1/4 cup blueberries
- 2 kiwis, peeled and sliced
Instructions
- Add the Greek yogurt, banana, spinach, frozen pineapple, and honey to a blender. Blend until the mixture turns smooth and evenly green with no large spinach pieces left.
- Line a baking sheet with parchment paper. Pour the blended mixture onto the paper and spread it into an even layer about half an inch thick.
- Scatter the blueberries and kiwi slices across the surface. Press them lightly into the yogurt so they stay in place once frozen.
- Place the baking sheet in the freezer for at least four hours or until the bark feels completely solid.
- Remove the sheet from the freezer and break the bark into pieces with your hands or a knife. Serve the pieces right away.
Notes
Cuisine: American
Equipment: Blender, Baking Sheet, Parchment Paper
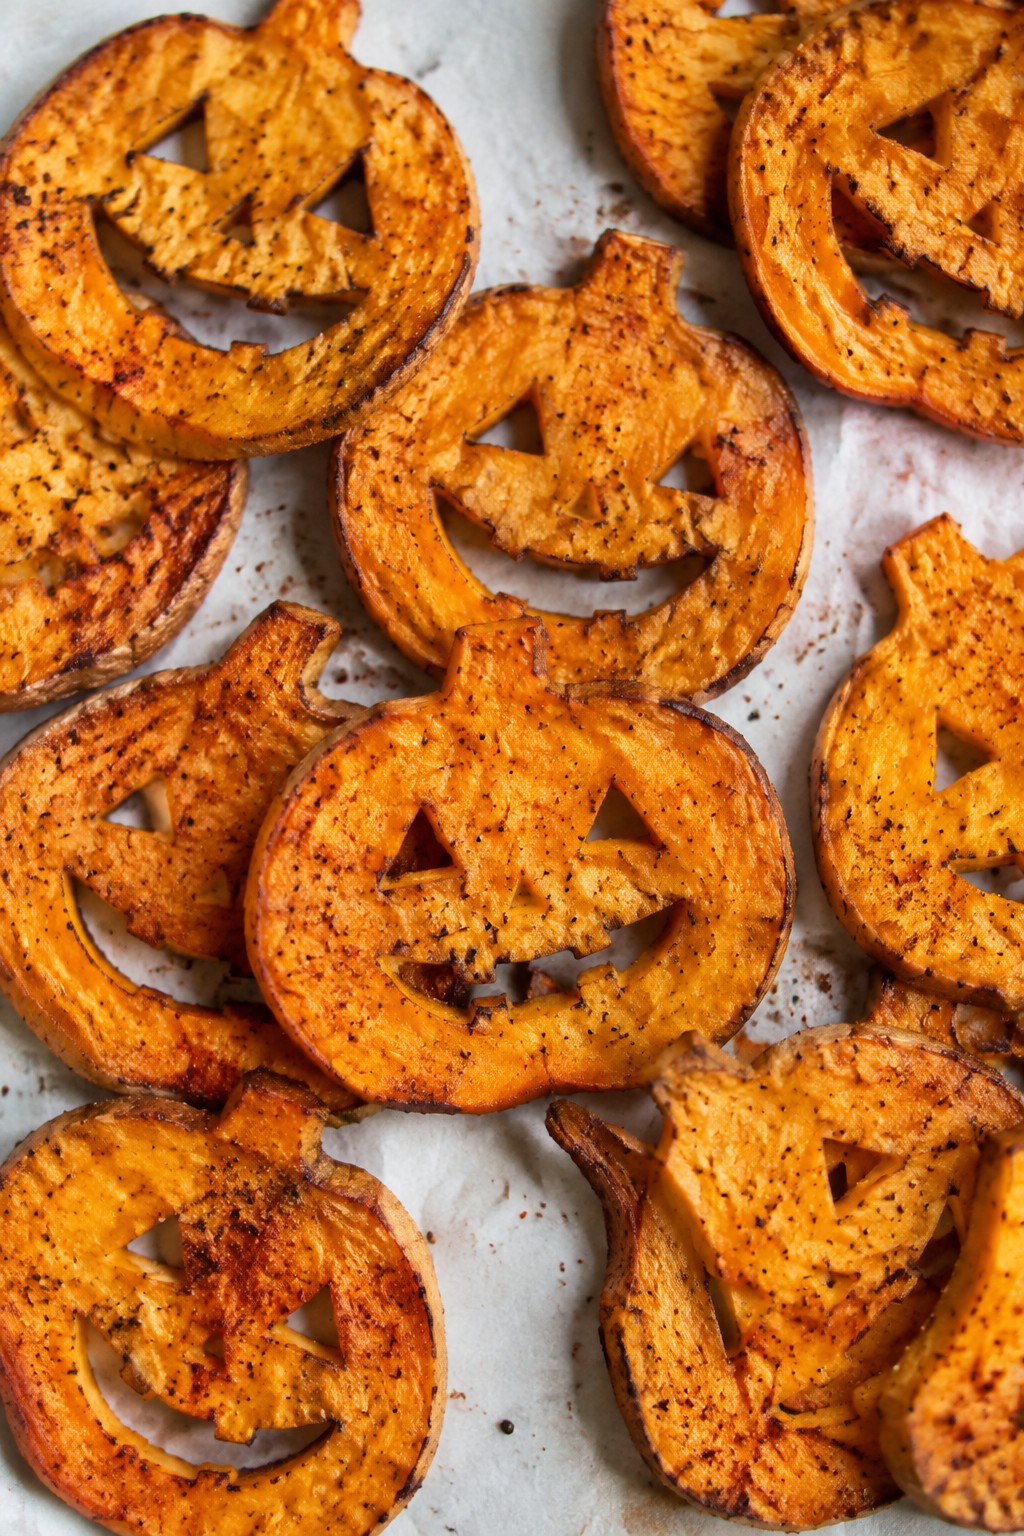
Baked Sweet Potato Jack-o’-Lantern Fries
These baked sweet potato fries bring a playful Halloween touch by turning simple slices into jack-o’-lantern shapes. They work well for after-school snacks, party platters, or casual family dinners when you want something festive yet wholesome.
The sweet potatoes develop a lightly crisp outside and soft center when baked. A touch of warm spice balances the natural sweetness without overpowering it.
Equipment
- Baking sheet
- Mixing bowl
- Sharp knife
- Parchment paper
Ingredients
- 4 medium sweet potatoes
- 2 tablespoons olive oil
- 1 teaspoon smoked paprika
- 1/2 teaspoon garlic powder
- 1/2 teaspoon salt
- 1/4 teaspoon ground cinnamon
- 1/4 teaspoon black pepper
Instructions
- Preheat the oven to 425°F and line a large baking sheet with parchment paper.
- Peel the sweet potatoes and slice them into 1/4-inch thick rounds.
- Use a small paring knife to carve simple jack-o’-lantern faces into each round.
- Place the carved rounds in a mixing bowl and drizzle with olive oil.
- Sprinkle the smoked paprika, garlic powder, salt, cinnamon, and black pepper over the slices.
- Toss gently until every piece is evenly coated.
- Arrange the slices in a single layer on the prepared baking sheet.
- Bake for 20 to 25 minutes, flipping halfway through, until the edges turn golden and crisp.
Notes
Cuisine: American
Equipment: Baking sheet, Mixing bowl, Sharp knife, Parchment paper
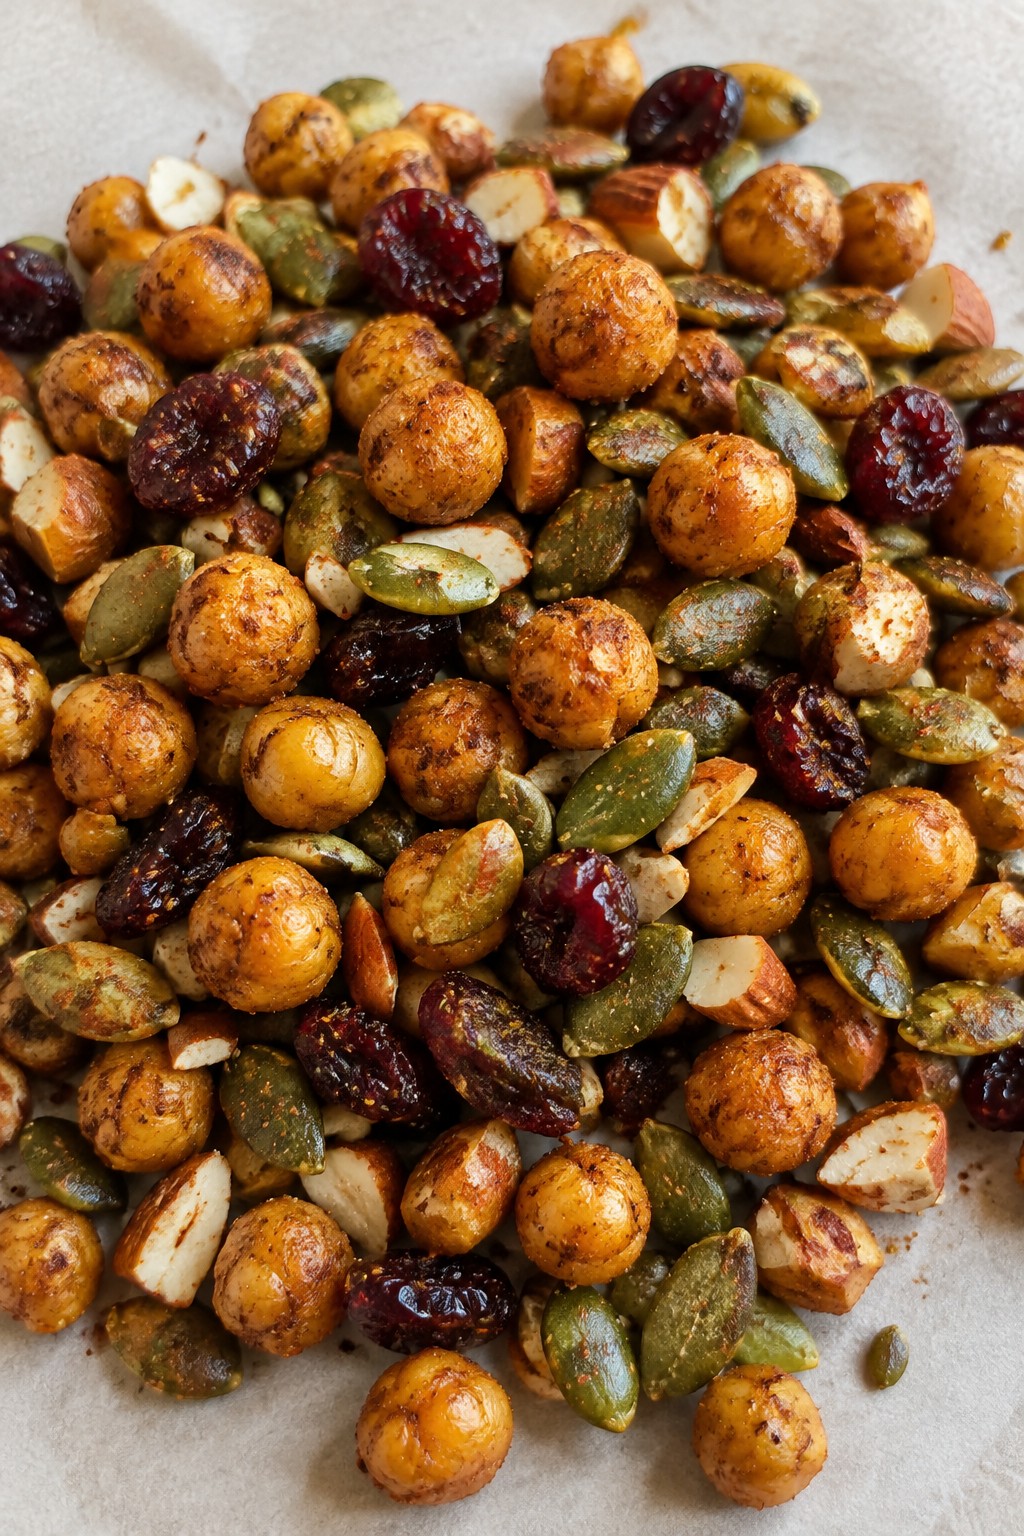
Spiced Chickpea Halloween Snack Mix
This snack mix turns roasted chickpeas into a crunchy, spiced base that feels festive without relying on sugar. It works well for Halloween movie nights or party bowls when you want a savory option that still fits a healthy lineup.
The flavor leans warm and smoky with a gentle heat, while the mix of toasted seeds and tart dried fruit adds chew and contrast. It stays satisfying on its own or paired with fresh apple slices.
Equipment
- Baking sheet
- Mixing bowl
- Oven
Ingredients
- 2 cans (15-ounce) chickpeas, drained and rinsed
- 2 tablespoons olive oil
- 1 teaspoon smoked paprika
- 1 teaspoon ground cumin
- 1/2 teaspoon garlic powder
- 1/4 teaspoon cayenne pepper
- 1/2 teaspoon salt
- 1 cup roasted pumpkin seeds
- 1/2 cup dried cranberries
- 1/4 cup chopped almonds
Instructions
- Preheat the oven to 400°F and line a baking sheet with parchment paper. Pat the chickpeas very dry with a clean towel to help them crisp.
- In a mixing bowl, combine the chickpeas with olive oil, smoked paprika, cumin, garlic powder, cayenne pepper, and salt. Stir until every chickpea is coated.
- Spread the seasoned chickpeas in a single layer on the prepared baking sheet. Roast for 25 to 30 minutes, shaking the pan halfway through, until the chickpeas are golden and crisp.
- Remove the pan from the oven and let the chickpeas cool for 10 minutes. Transfer them to a large bowl and add the roasted pumpkin seeds, dried cranberries, and chopped almonds. Toss gently to combine.
Notes
Cuisine: American
Equipment: Baking sheet, Mixing bowl, Oven
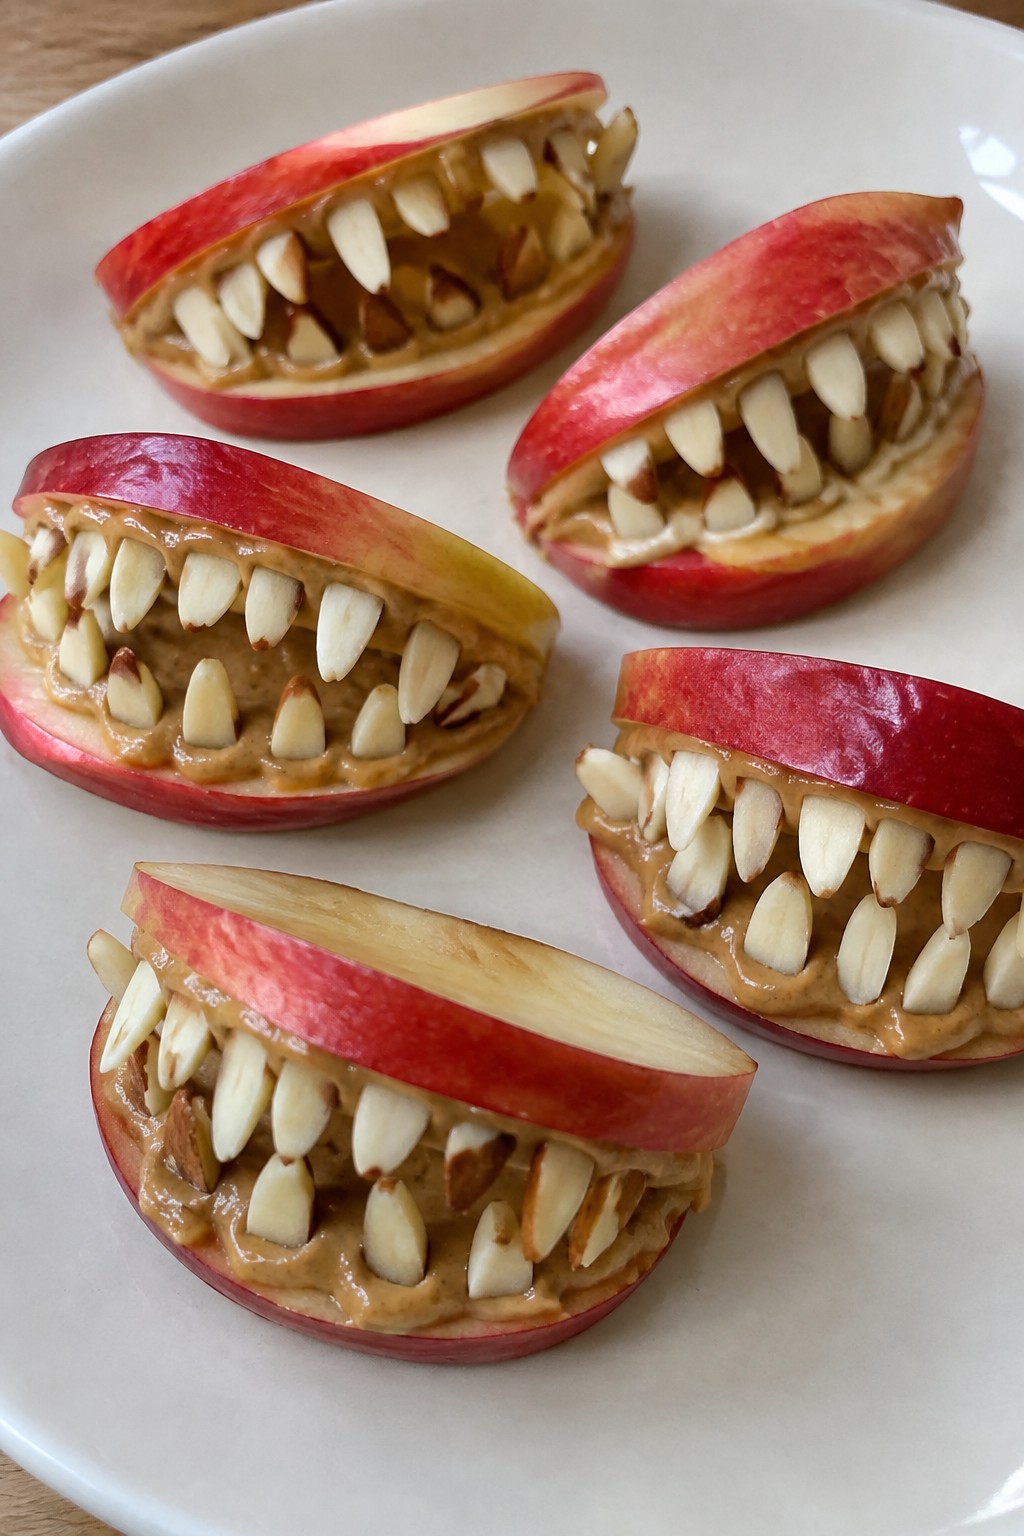
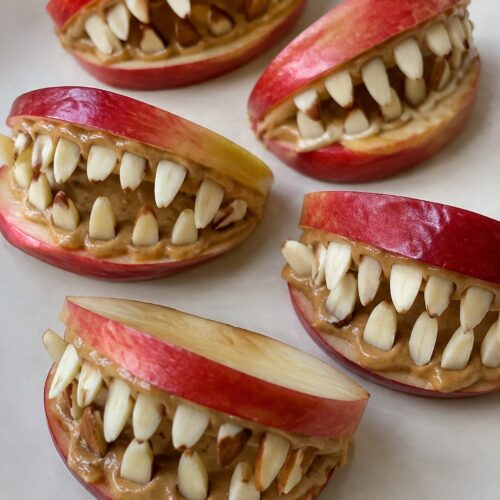
Apple Almond Butter Monster Mouths
These apple slices turn into playful monster mouths with a simple spread of almond butter and a row of crunchy almond teeth. The snack brings together crisp fruit and rich nut butter for a satisfying bite that feels festive without any extra sugar. It works well for lunch boxes, Halloween parties, or a quick after-school treat.
Equipment
- Knife
- Cutting Board
- Spoon
Ingredients
- 2 large crisp apples
- 1/4 cup almond butter
- 1/4 cup sliced almonds
Instructions
- Wash the apples and slice each one into four thick wedges. Remove the core from each wedge with a small cut.
- Spread about 1 teaspoon of almond butter across the cut side of one wedge.
- Press sliced almonds into the almond butter in a single row to form teeth.
- Place a second apple wedge on top of the first to close the mouth.
- Repeat with the remaining wedges until you have eight finished monster mouths.
Notes
Cuisine: American
Equipment: Knife, Cutting Board, Spoon
Cauliflower Mummy Pizza Bites
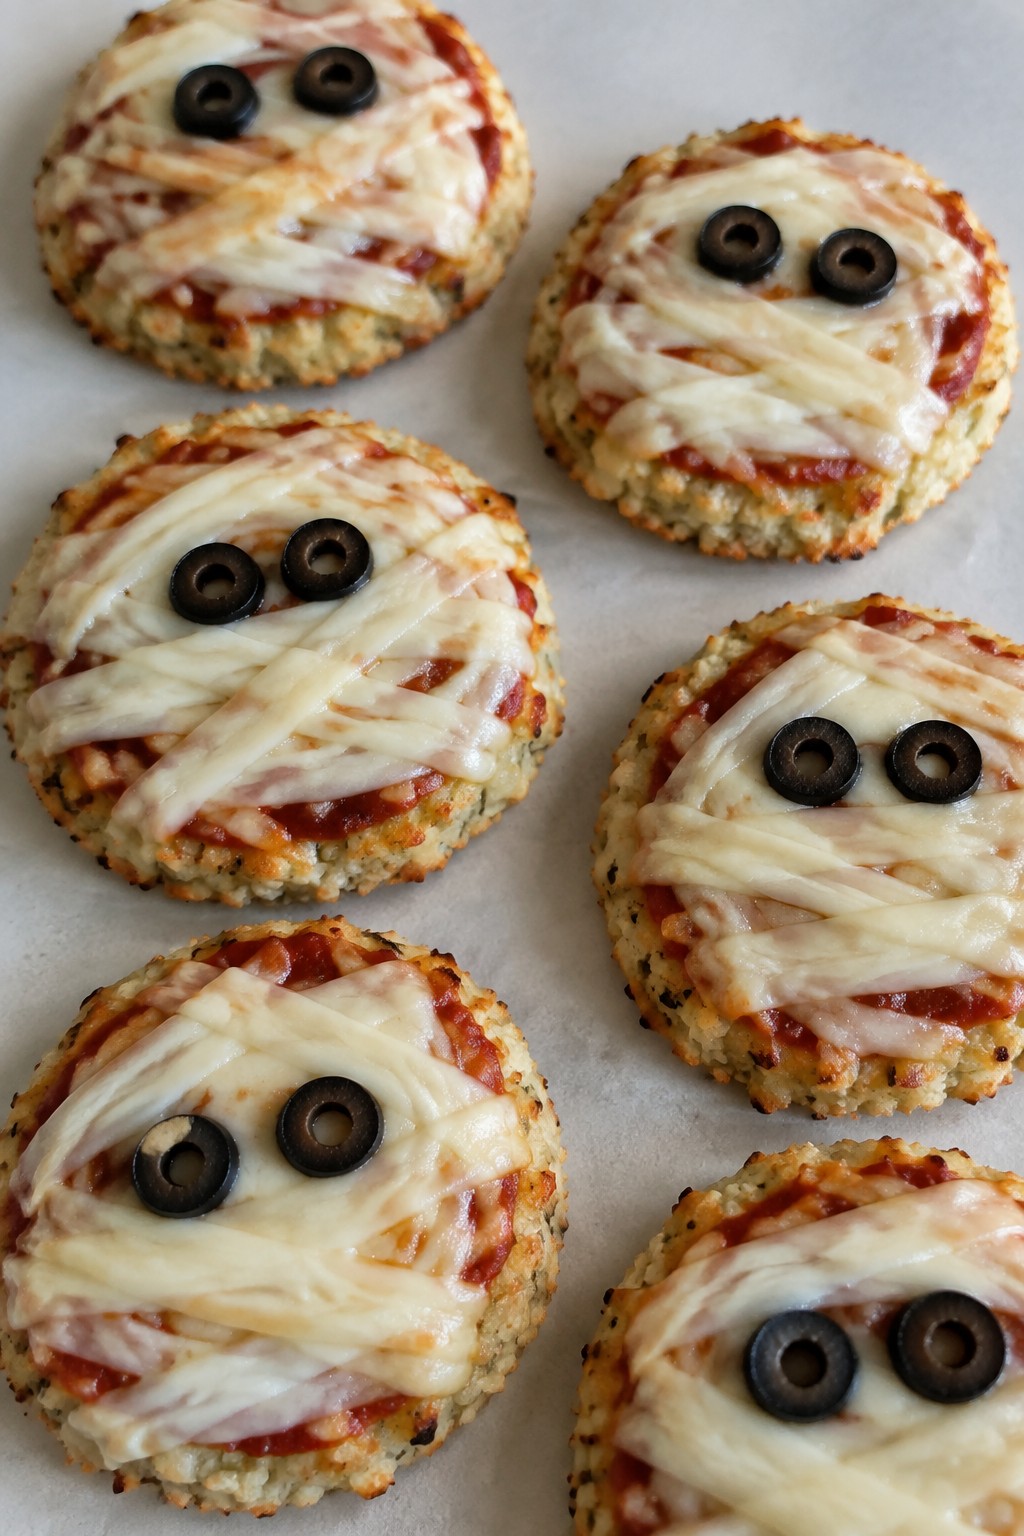
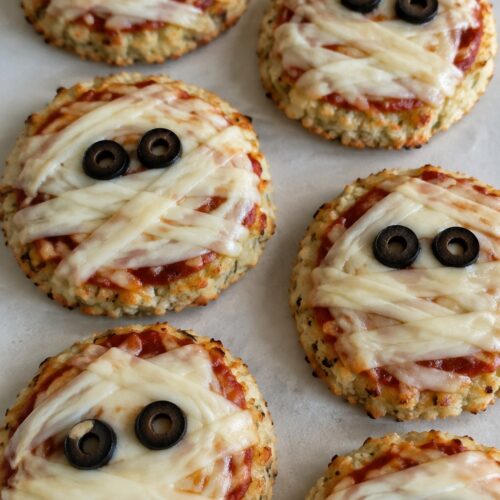
These cauliflower pizza bites make a fun Halloween snack that feels festive without extra sugar. The cauliflower base keeps them light while the cheese and seasonings give them a classic pizza taste that kids and adults both enjoy. They work well for parties or after-school snacks when you want something savory and vegetable-forward.
The mummies come together quickly once the cauliflower is prepped. Cheese strips form the bandages, and a couple of olive slices create the eyes on each bite.
Equipment
- Baking sheet
- Mixing bowl
- Microwave-safe bowl
- Kitchen towel
Ingredients
- 1 medium head cauliflower, riced (about 3 cups)
- 1 1/4 cups shredded mozzarella cheese, divided
- 1 large egg
- 1 teaspoon garlic powder
- 1 teaspoon Italian seasoning
- 1/2 teaspoon salt
- 1/2 cup pizza sauce
- 8 black olives, sliced into rounds
Instructions
- Preheat the oven to 400 degrees and line a baking sheet with parchment paper.
- Place the riced cauliflower in a microwave-safe bowl and cook for 5 minutes. Let it cool slightly, then transfer to a clean kitchen towel and squeeze out as much liquid as possible.
- In a mixing bowl, combine the squeezed cauliflower, 1 cup of the mozzarella, egg, garlic powder, Italian seasoning, and salt. Mix until a dough forms.
- Scoop the mixture into 8 small rounds on the prepared baking sheet. Flatten each round slightly with the back of a spoon.
- Bake for 12 minutes until the edges turn golden.
- Remove the baking sheet from the oven. Spread a thin layer of pizza sauce on each round. Lay thin strips of the remaining mozzarella across the top to resemble bandages. Add two olive slices to each bite for eyes.
- Return to the oven for 5 more minutes until the cheese melts and the edges crisp.
Notes
Cuisine: American
Equipment: Baking sheet, Mixing bowl, Microwave-safe bowl, Kitchen towel
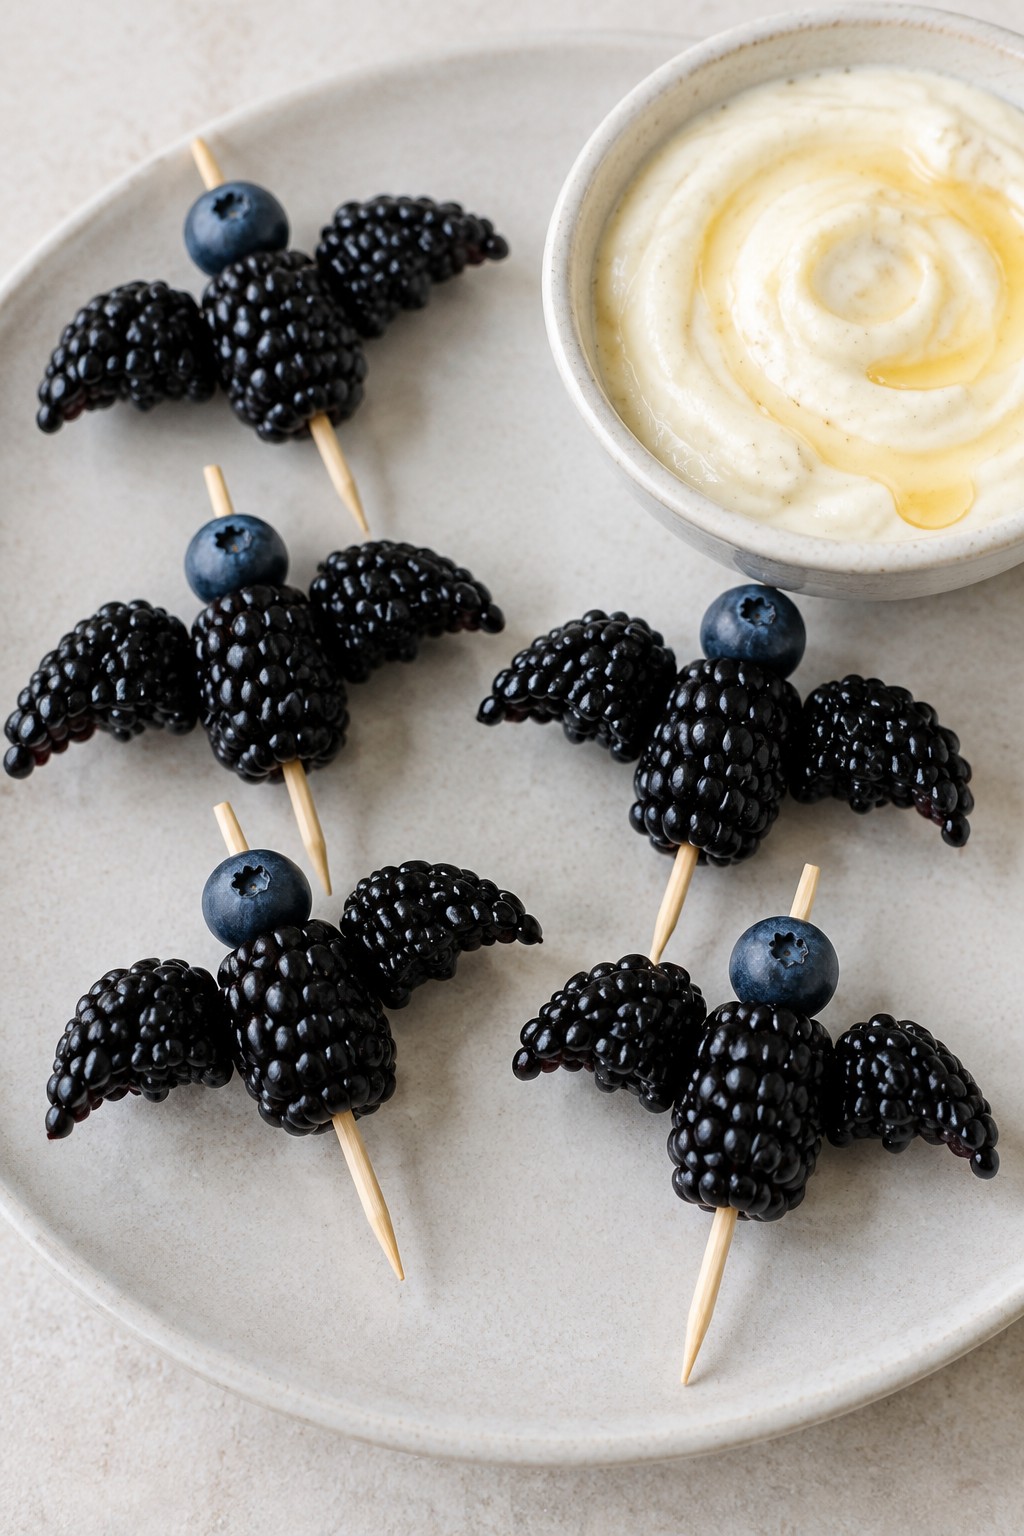
Berry Bat Skewers with Yogurt Dip
These berry bat skewers turn simple fruit into a playful Halloween snack. They work well for after-school snacks, party platters, or a quick bite before evening activities. The fresh berries stay bright and juicy while the yogurt dip adds a cool, creamy contrast.
The flavor stays lightly sweet and tangy. Blackberries and blueberries give a mix of tart and sweet notes that pair nicely with the smooth dip.

Equipment
- Mixing Bowl
- Wooden Skewers
Ingredients
- 8 wooden skewers
- 2 cups blackberries
- 1 1/2 cups blueberries
- 2 cups plain Greek yogurt
- 2 tablespoons honey
- 1 teaspoon vanilla extract
Instructions
- Place the Greek yogurt in a medium bowl and stir in the honey and vanilla extract until fully combined. Set the dip aside.
- Lay out the wooden skewers. Thread three blackberries onto each skewer first to form the bat body, spacing them slightly apart.
- Add blueberries on either side of the blackberries to create wing shapes, using four to six berries per side depending on size.
- Repeat with the remaining skewers until all berries are used. Arrange the finished skewers on a plate.
- Serve the skewers with the yogurt dip on the side for dipping.
Notes
Cuisine: American
Equipment: Mixing Bowl, Wooden Skewers
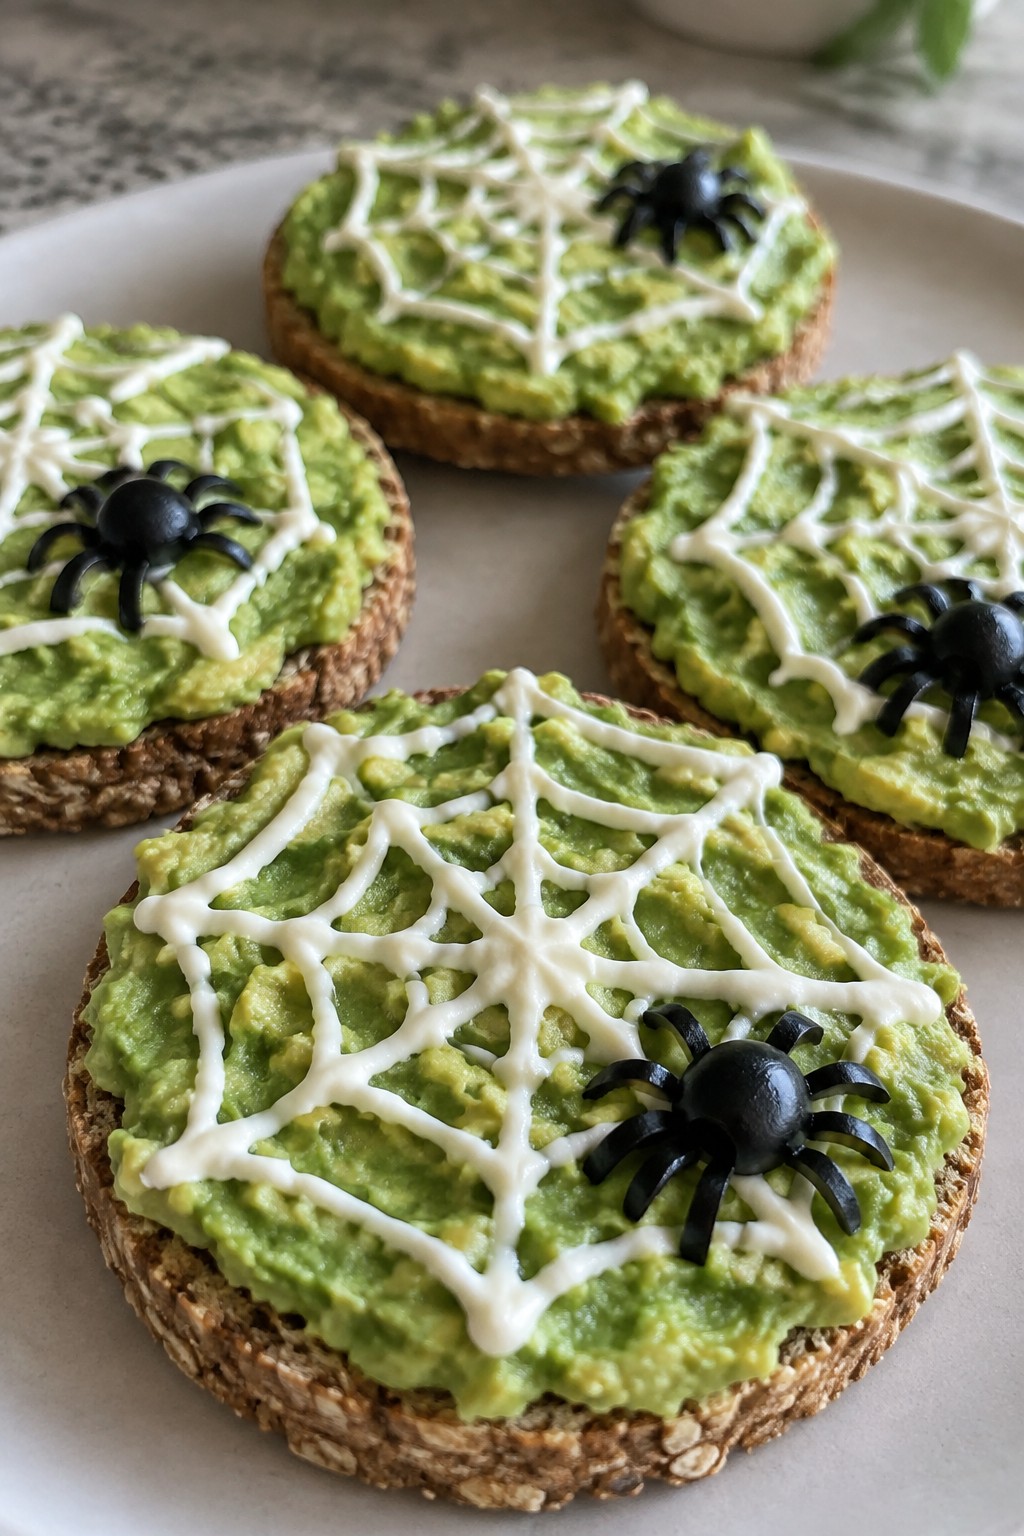
Avocado Spiderweb Toast Rounds
These rounds turn simple avocado toast into a fun Halloween snack. The creamy avocado pairs with crisp toast for a satisfying bite that feels both fresh and filling. Kids and adults alike enjoy spotting the spiderweb design on top.
The recipe works well for parties or after-school snacks. It keeps things light with whole grain bread and fresh avocado while adding a playful touch that fits the season.

Equipment
- Toaster
- Mixing bowl
- Knife
- Zip-top bag
- Toothpick
Ingredients
- 4 slices whole wheat bread
- 2 ripe avocados
- 1 lime
- 1/4 teaspoon salt
- 1/4 cup plain Greek yogurt
- 4 black olives
Instructions
- Cut each slice of whole wheat bread into two rounds using a round cutter or glass. Toast the rounds until they reach a light golden color.
- Cut the avocados in half, remove the pits, and scoop the flesh into a mixing bowl. Add the juice from the lime and the salt. Mash with a fork until the mixture is mostly smooth but still has a few small chunks.
- Spread the mashed avocado evenly over each toasted bread round.
- Place the Greek yogurt in a small zip-top bag and snip off one corner to create a piping tip. Pipe three or four concentric circles on each avocado-topped round.
- Use a toothpick to drag lines from the center outward through the circles to form a spiderweb pattern on each round.
- Slice each black olive in half lengthwise. Place one half in the center of each web as a spider body and cut the remaining halves into thin strips to form legs around it.
Notes
Cuisine: American
Equipment: Toaster, Mixing bowl, Knife, Zip-top bag, Toothpick
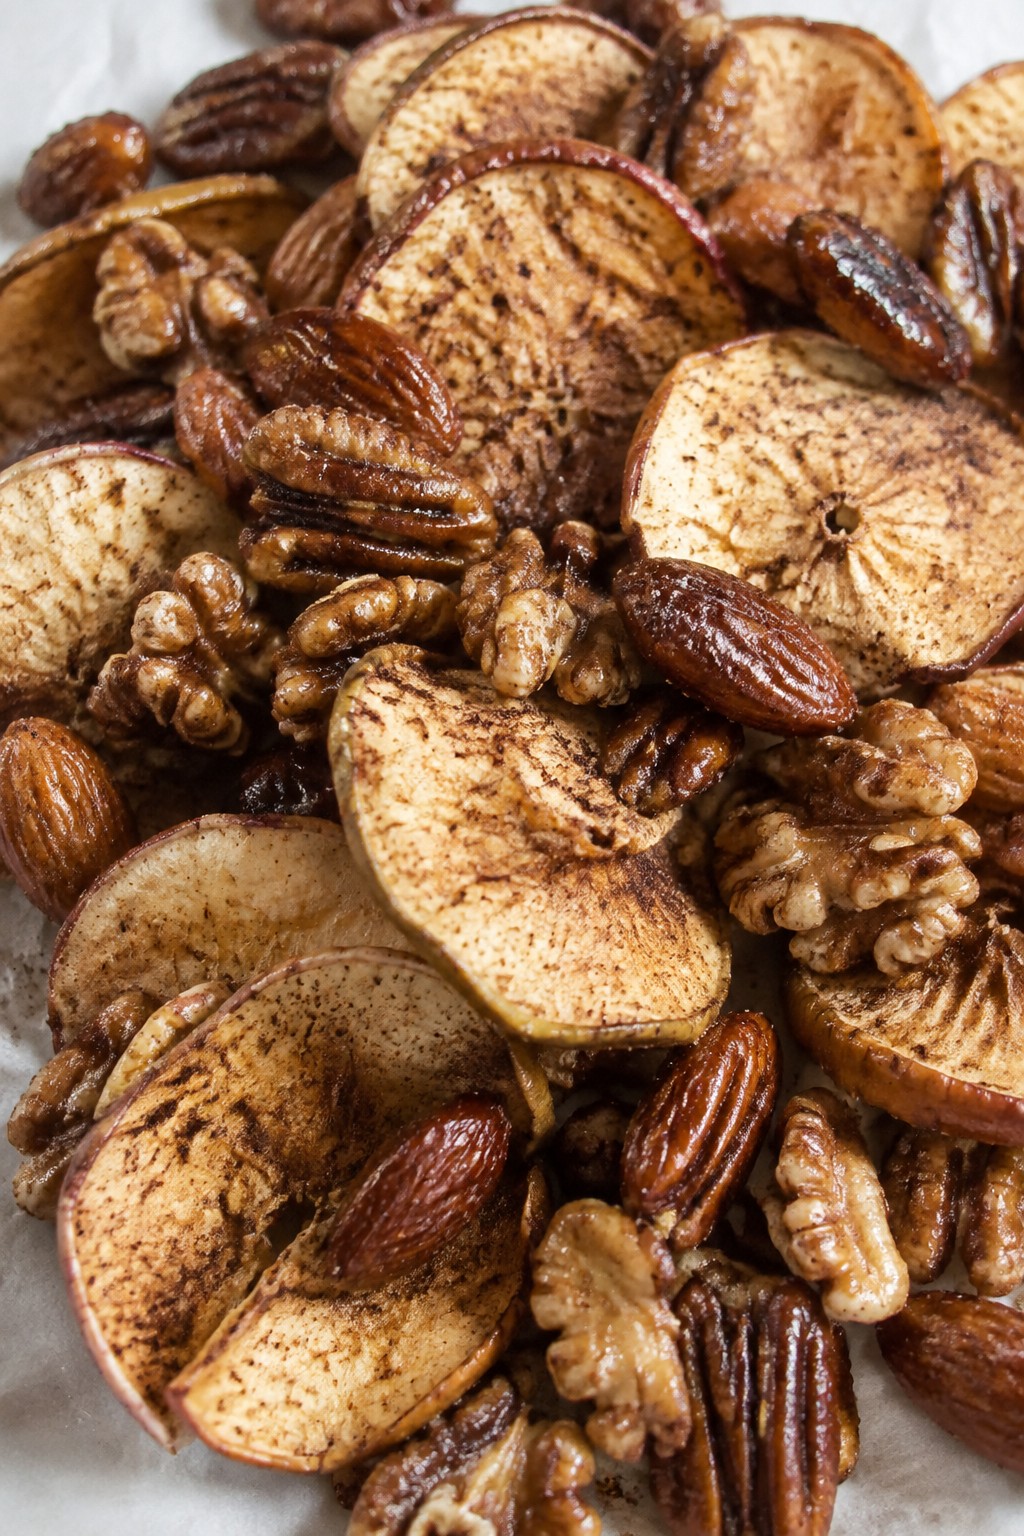
Cinnamon Roasted Apple Chips with Nut Clusters
These apple chips bring a crisp texture and warm cinnamon flavor that feels like a treat without the heaviness of candy. They make an easy snack to set out during Halloween movie nights or hand out at small gatherings.
The roasted apples turn naturally sweet while the nut clusters add a chewy crunch and extra staying power. Together they create a balanced bite that satisfies both kids and adults.

Equipment
- Oven
- Two Baking Sheets
- Parchment Paper
- Two Mixing Bowls
Ingredients
- 4 medium apples, cored and thinly sliced
- 2 teaspoons ground cinnamon, divided
- 1 cup raw mixed nuts (almonds, walnuts, pecans)
- 2 tablespoons maple syrup
- 1 tablespoon coconut oil, melted
- 1/4 teaspoon salt
Instructions
- Preheat the oven to 225°F and line two baking sheets with parchment paper.
- Place the apple slices in a bowl and toss with 1 teaspoon cinnamon until evenly coated.
- Arrange the slices in a single layer on one prepared baking sheet.
- In a second bowl, stir together the mixed nuts, maple syrup, melted coconut oil, remaining teaspoon of cinnamon, and salt until the nuts are fully coated.
- Spread the nut mixture onto the second baking sheet, pressing lightly to form small clusters.
- Bake both sheets for 1 hour, then flip the apple slices and stir the nut clusters.
- Continue baking for 45 to 60 minutes more until the apples feel dry and crisp and the nuts turn golden.
- Remove from the oven and let everything cool completely on the sheets.
Notes
Cuisine: American
Equipment: Oven, Two Baking Sheets, Parchment Paper, Two Mixing Bowls
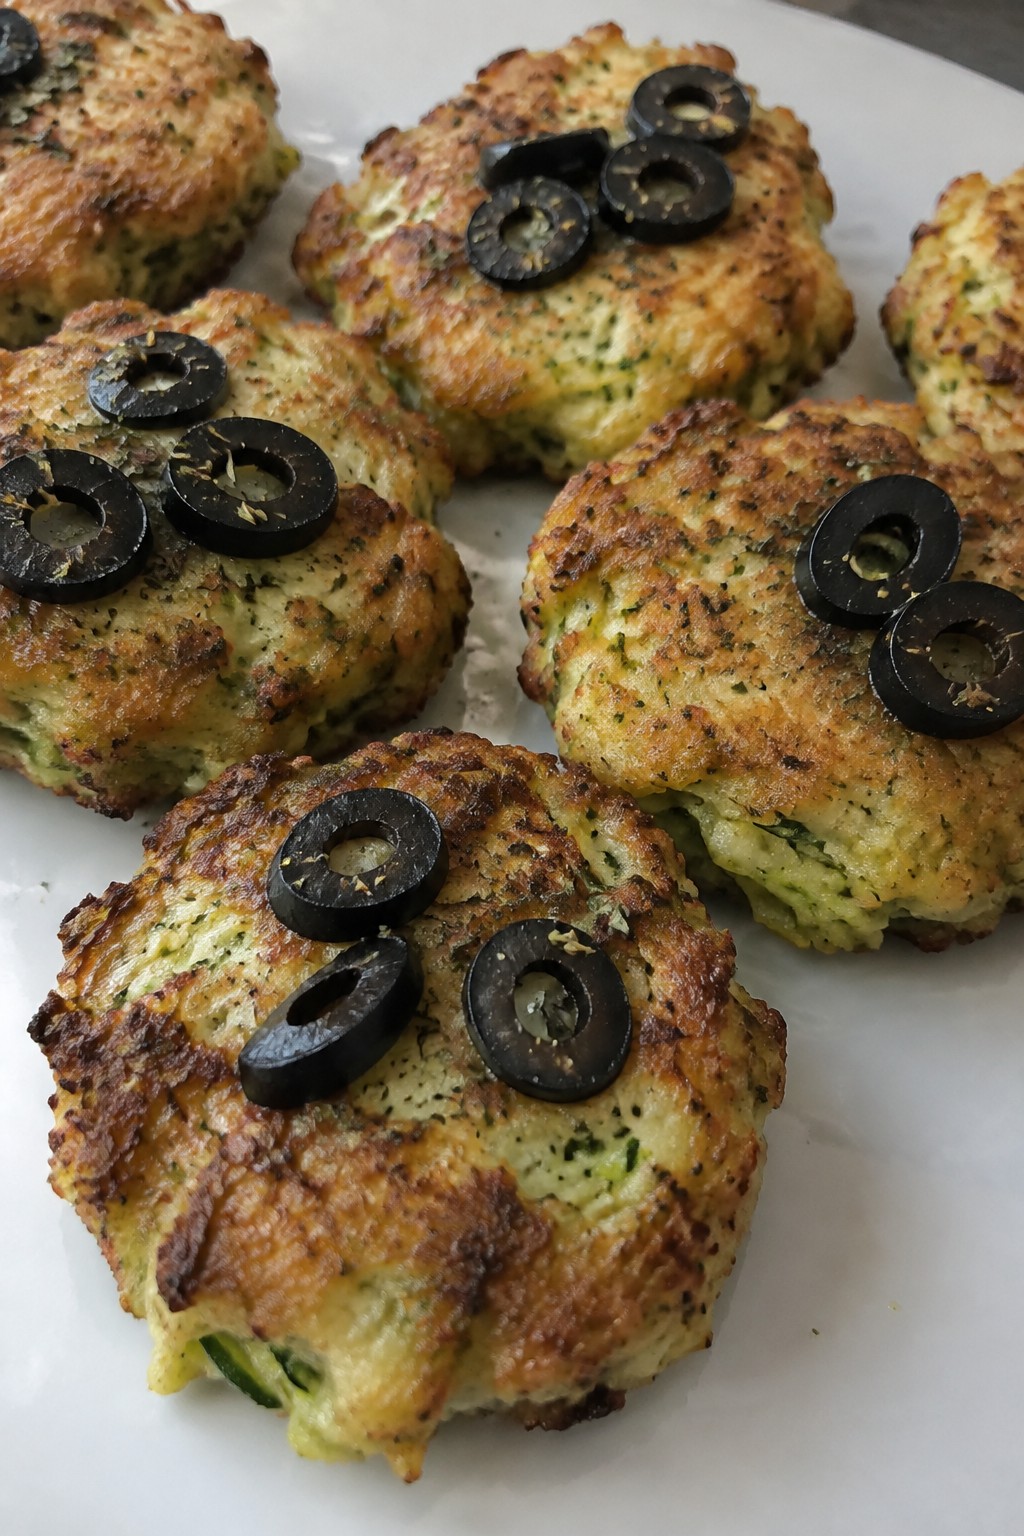
Zucchini Fritter Graveyard Bites
These zucchini fritter bites bring a fun Halloween twist to a simple vegetable snack. Grated zucchini keeps them light while a quick pan fry creates a golden edge. They work well for parties because they hold up at room temperature and pair easily with other finger foods.
The flavor stays savory with garlic and herbs. Each bite stays tender inside with just enough crunch on the outside to feel satisfying without feeling heavy.

Equipment
- Mixing bowl
- Box grater
- Large skillet
Ingredients
- 2 medium zucchinis, grated and squeezed dry
- 1 large egg
- 1/4 cup almond flour
- 1/4 cup grated Parmesan cheese
- 2 cloves garlic, minced
- 1 teaspoon dried oregano
- 1/2 teaspoon salt
- 1/4 teaspoon black pepper
- 2 tablespoons olive oil
- 8 black olives, sliced into rounds
Instructions
- Place the grated and squeezed zucchini in a large bowl. Add the egg, almond flour, Parmesan, garlic, oregano, salt, and pepper. Stir until the mixture holds together.
- Shape the mixture into eight small rectangular patties, roughly the size of a domino, to resemble gravestones.
- Heat the olive oil in a skillet over medium heat. Add the patties in a single layer without crowding.
- Cook for 3 to 4 minutes per side until the edges turn golden and the centers feel set.
- Remove the fritters to a plate. Top each one with a black olive slice before serving.
Notes
Cuisine: American
Equipment: Mixing bowl, Box grater, Large skillet
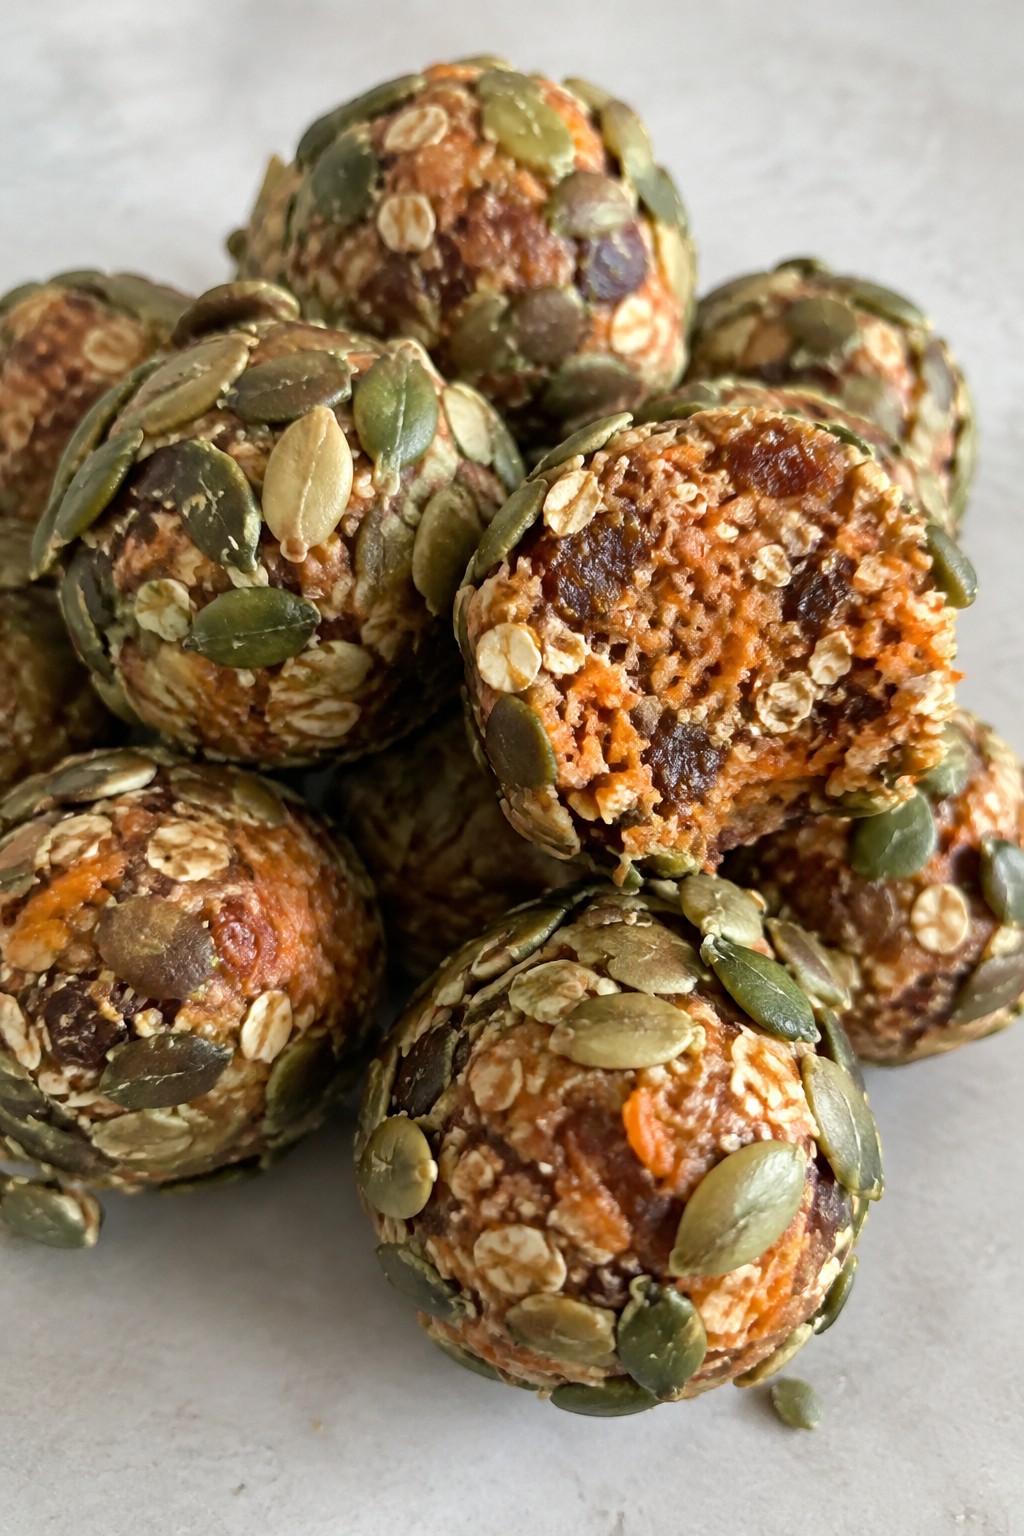
Carrot Cake Energy Balls with Pumpkin Seeds
These carrot cake energy balls turn classic fall flavors into a simple no-bake snack. They work well for Halloween parties, lunchboxes, or an afternoon pick-me-up when you want something sweet but still wholesome. The result is chewy from the dates, lightly spiced, and finished with a bit of crunch from the pumpkin seeds.
The taste stays close to carrot cake without any refined sugar. Fresh carrot keeps the texture moist while the seeds add contrast on the outside.

Equipment
- Food Processor
- Mixing Bowl
Ingredients
- 1 cup shredded carrots
- 12 pitted Medjool dates
- 1 cup rolled oats
- ½ cup raw pumpkin seeds, divided
- 1 teaspoon ground cinnamon
- ½ teaspoon ground nutmeg
- 1 teaspoon vanilla extract
Instructions
- Place the dates, oats, cinnamon, nutmeg, and vanilla extract in a food processor. Pulse until the mixture starts to come together.
- Add the shredded carrots and half of the pumpkin seeds. Process until the mixture forms a sticky dough that holds when pressed.
- Scoop out portions and roll them into 12 balls with your hands.
- Spread the remaining pumpkin seeds on a plate and roll each ball to coat the outside.
Notes
Cuisine: American
Equipment: Food Processor, Mixing Bowl
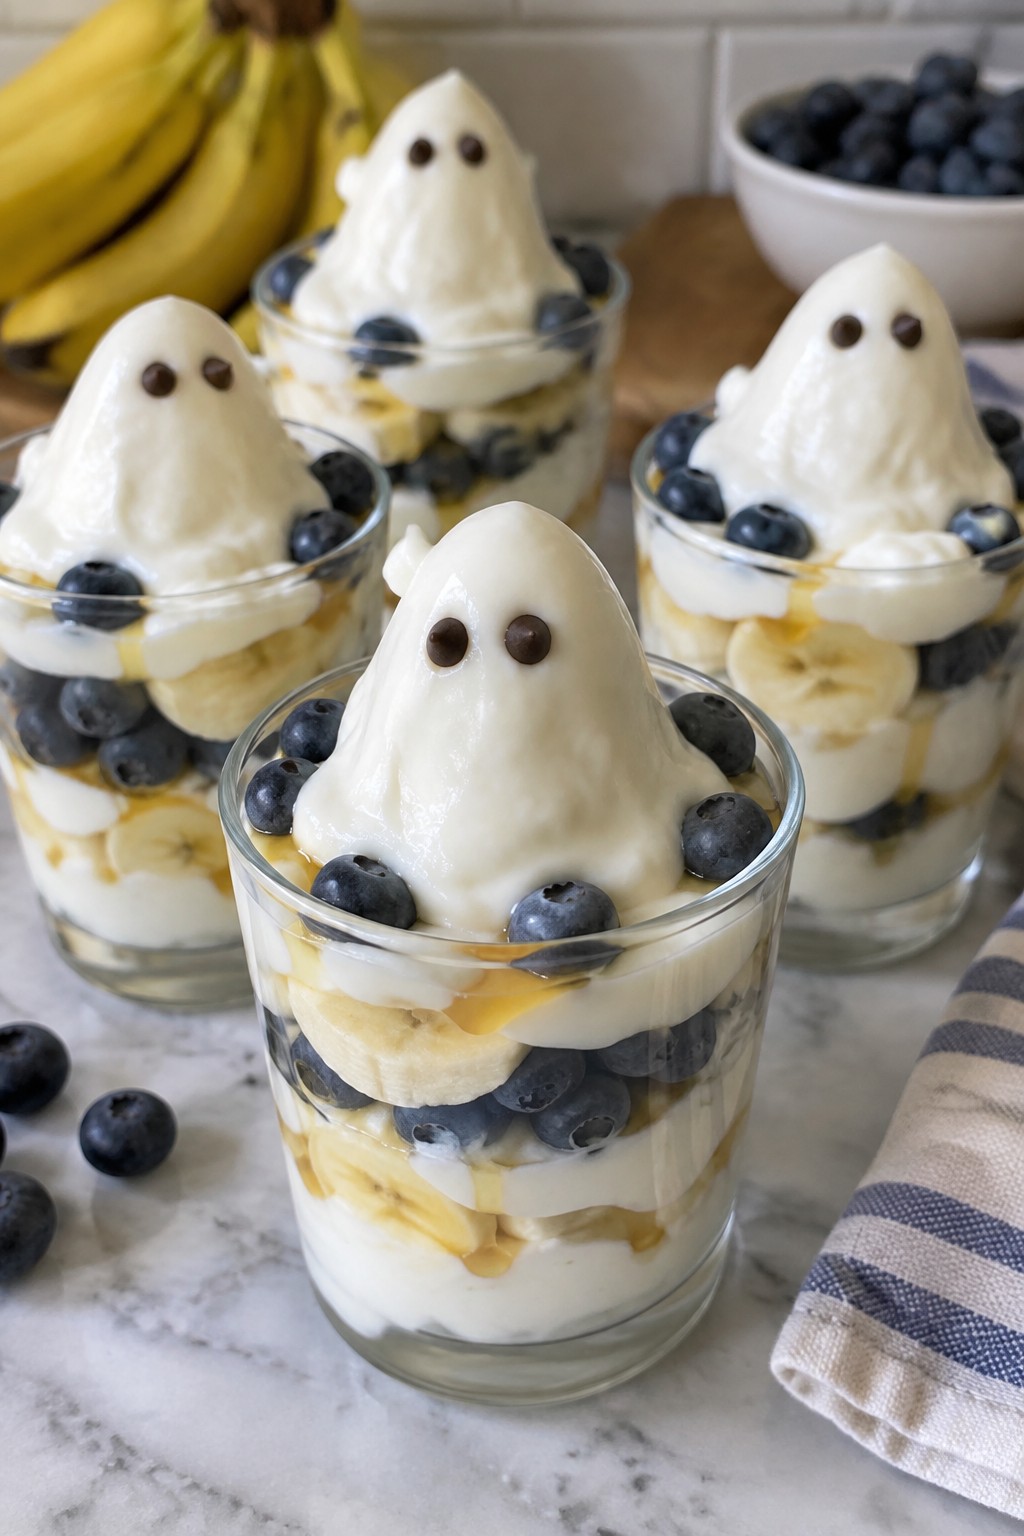
Greek Yogurt Ghost Parfaits
These Greek Yogurt Ghost Parfaits turn a basic yogurt cup into a Halloween snack that kids and adults both enjoy. They keep things light with protein-rich yogurt and fresh fruit while adding a playful ghost topping that fits the season.
The result tastes lightly sweet with creamy layers and bright berry bites. They work well for parties, lunchboxes, or a quick after-dinner treat.

Equipment
- Mixing Bowl
- 4 Small Glasses
- Zip-top Bag
Ingredients
- 2 cups plain Greek yogurt
- 2 tablespoons honey
- 1 teaspoon vanilla extract
- 1 cup fresh blueberries
- 1 banana, sliced
- 2 tablespoons mini chocolate chips
Instructions
- Stir the Greek yogurt, honey, and vanilla extract together in a mixing bowl until smooth.
- Spoon a layer of the yogurt mixture into the bottom of four small glasses or jars.
- Add a layer of blueberries and a few banana slices on top of the yogurt.
- Repeat with another layer of yogurt, then fruit, until the glasses are nearly full.
- Place the remaining yogurt in a zip-top bag, snip off one corner, and pipe ghost shapes on top of each parfait.
- Press two mini chocolate chips into each ghost shape to create eyes.
Notes
Cuisine: American
Equipment: Mixing Bowl, 4 Small Glasses, Zip-top Bag
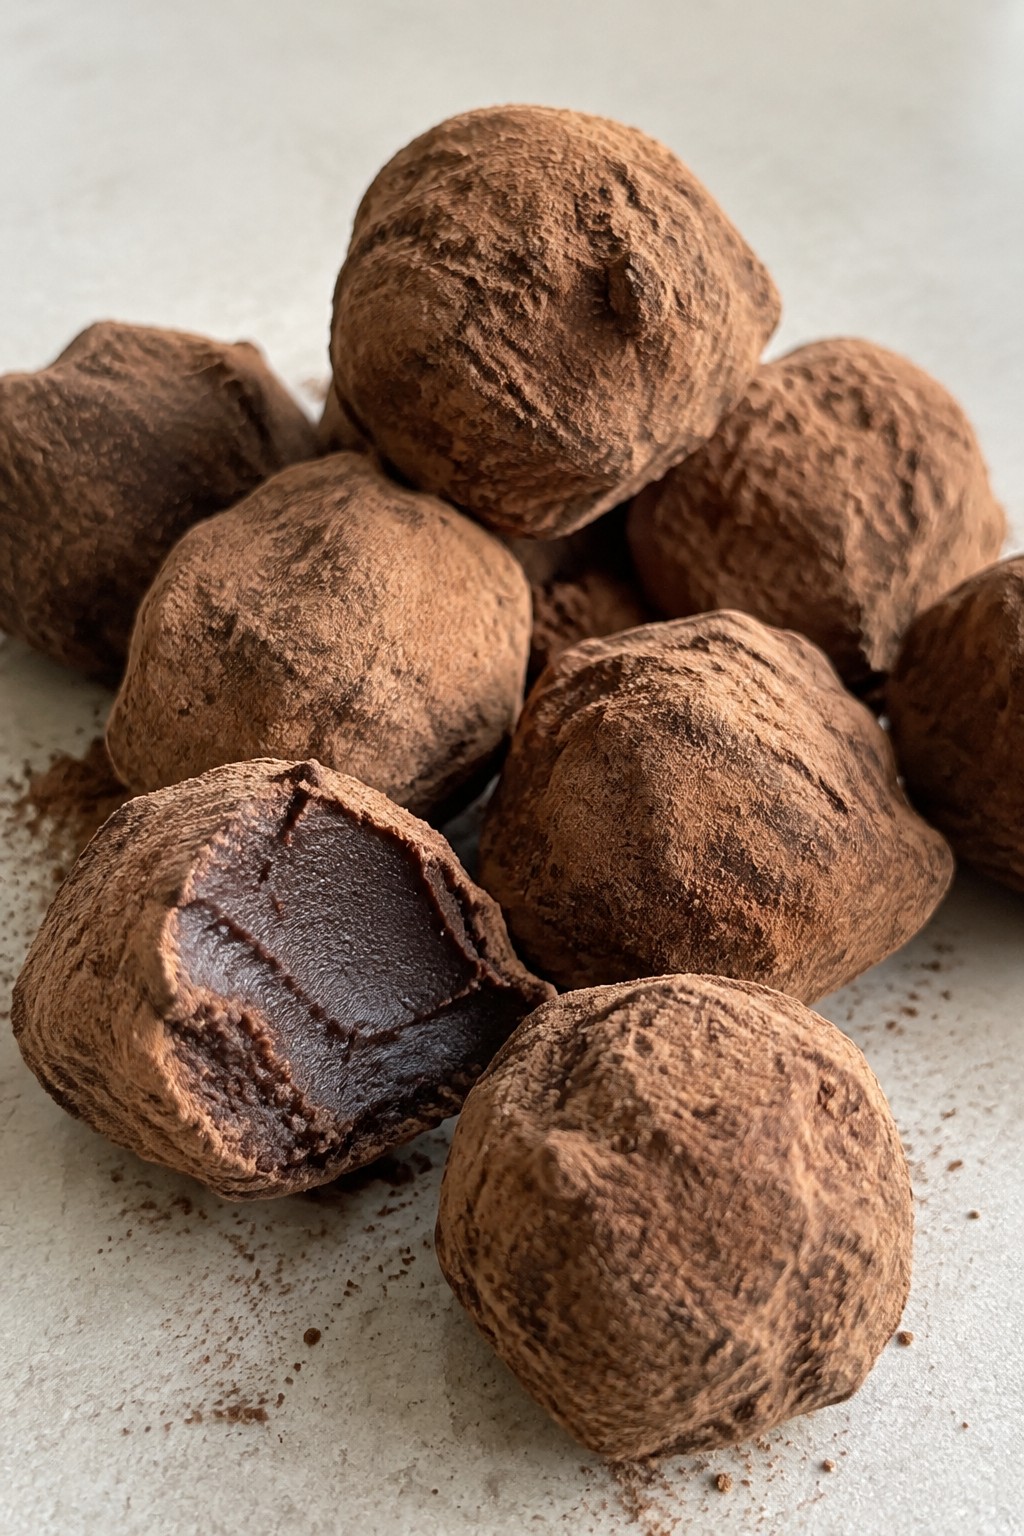
Dark Chocolate Pumpkin Truffles
These truffles blend dark chocolate with pumpkin puree for a snack that feels rich without being heavy. They work well for Halloween parties or as a quick bite during the fall season.
The result has a smooth, fudgy center and a light cocoa coating that adds a subtle bitterness to balance the pumpkin and spice.

Equipment
- Heatproof bowl
- saucepan
- mixing spoon
- plate
Ingredients
- 1/2 cup pumpkin puree
- 6 ounces dark chocolate chips
- 2 tablespoons coconut oil
- 1 teaspoon pumpkin pie spice
- 1/4 teaspoon sea salt
- 3 tablespoons unsweetened cocoa powder
Instructions
- Place the dark chocolate chips and coconut oil in a heatproof bowl set over a saucepan of simmering water. Stir until fully melted and smooth.
- Remove the bowl from heat and stir in the pumpkin puree, pumpkin pie spice, and sea salt until the mixture is evenly combined.
- Cover and refrigerate the mixture for 1 hour, or until it firms enough to handle.
- Scoop the mixture into small portions and roll each one into a ball with your hands.
- Roll the balls in the cocoa powder to coat them evenly, then place them on a plate.
- Return the plate to the refrigerator for 20 minutes to set before serving.
Notes
Cuisine: American
Equipment: Heatproof bowl, saucepan, mixing spoon, plate
